HAAT POS · Workflows
How the store actually runs.
Deeper product walks for convenience and liquor retailers — from deal quests on the customer display to suggested POs and cycle counts.
Promotions
Quest-style upsells on the customer display.
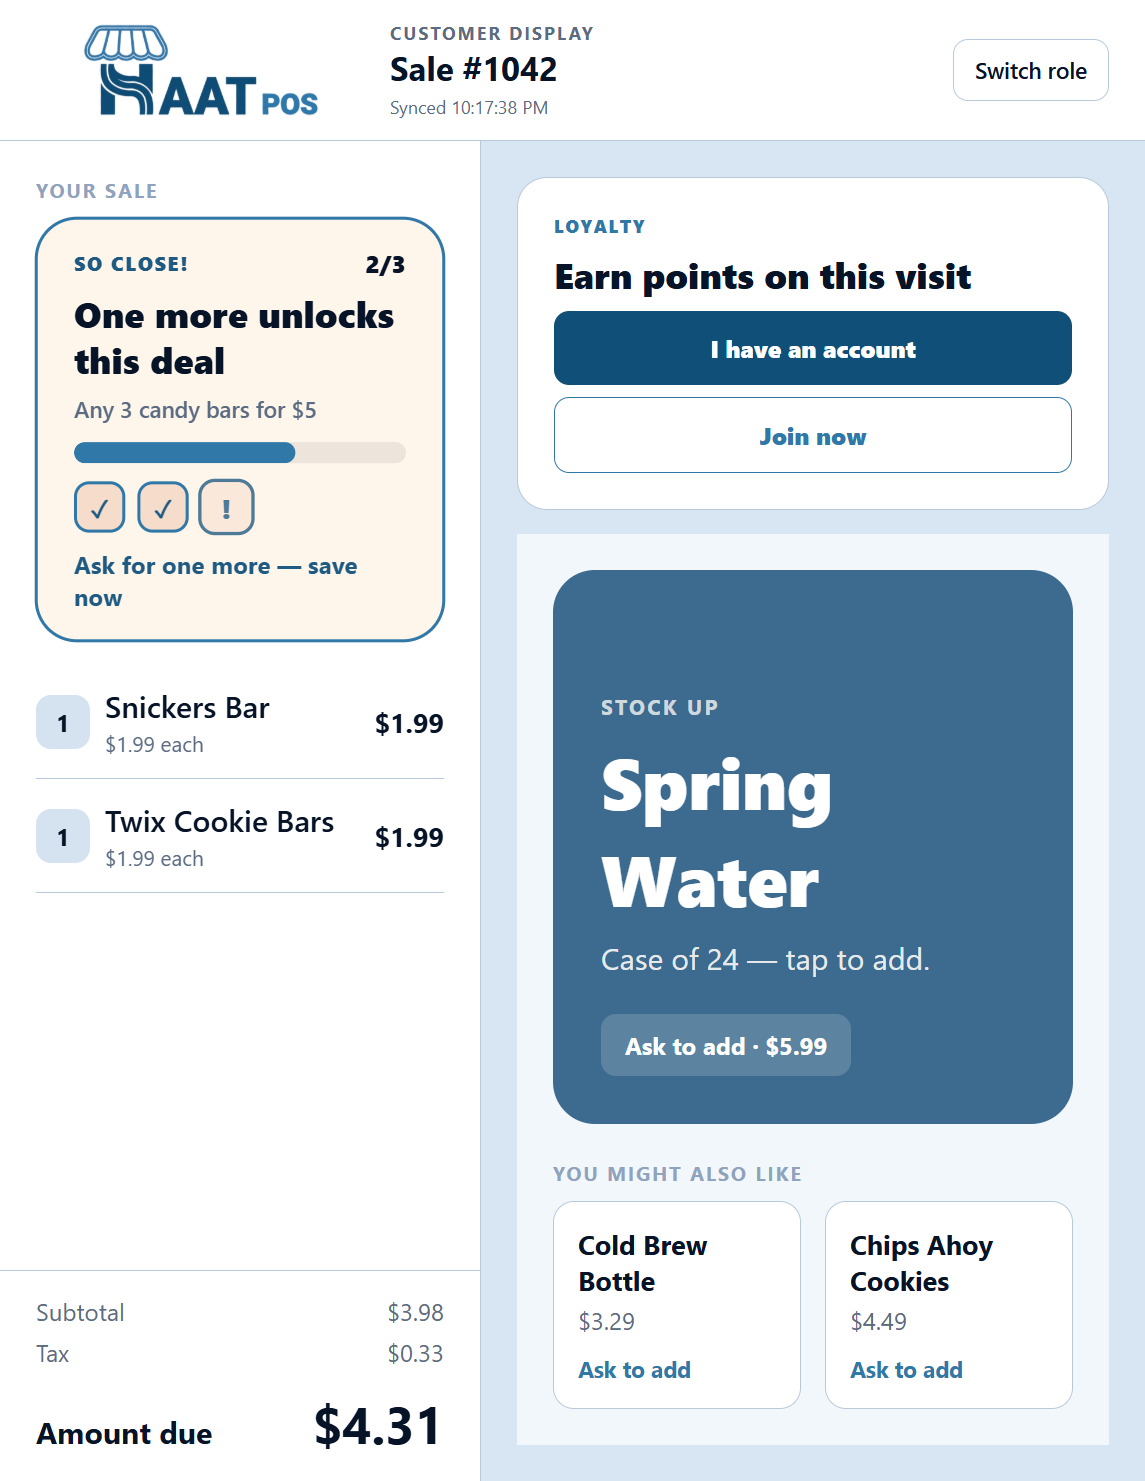
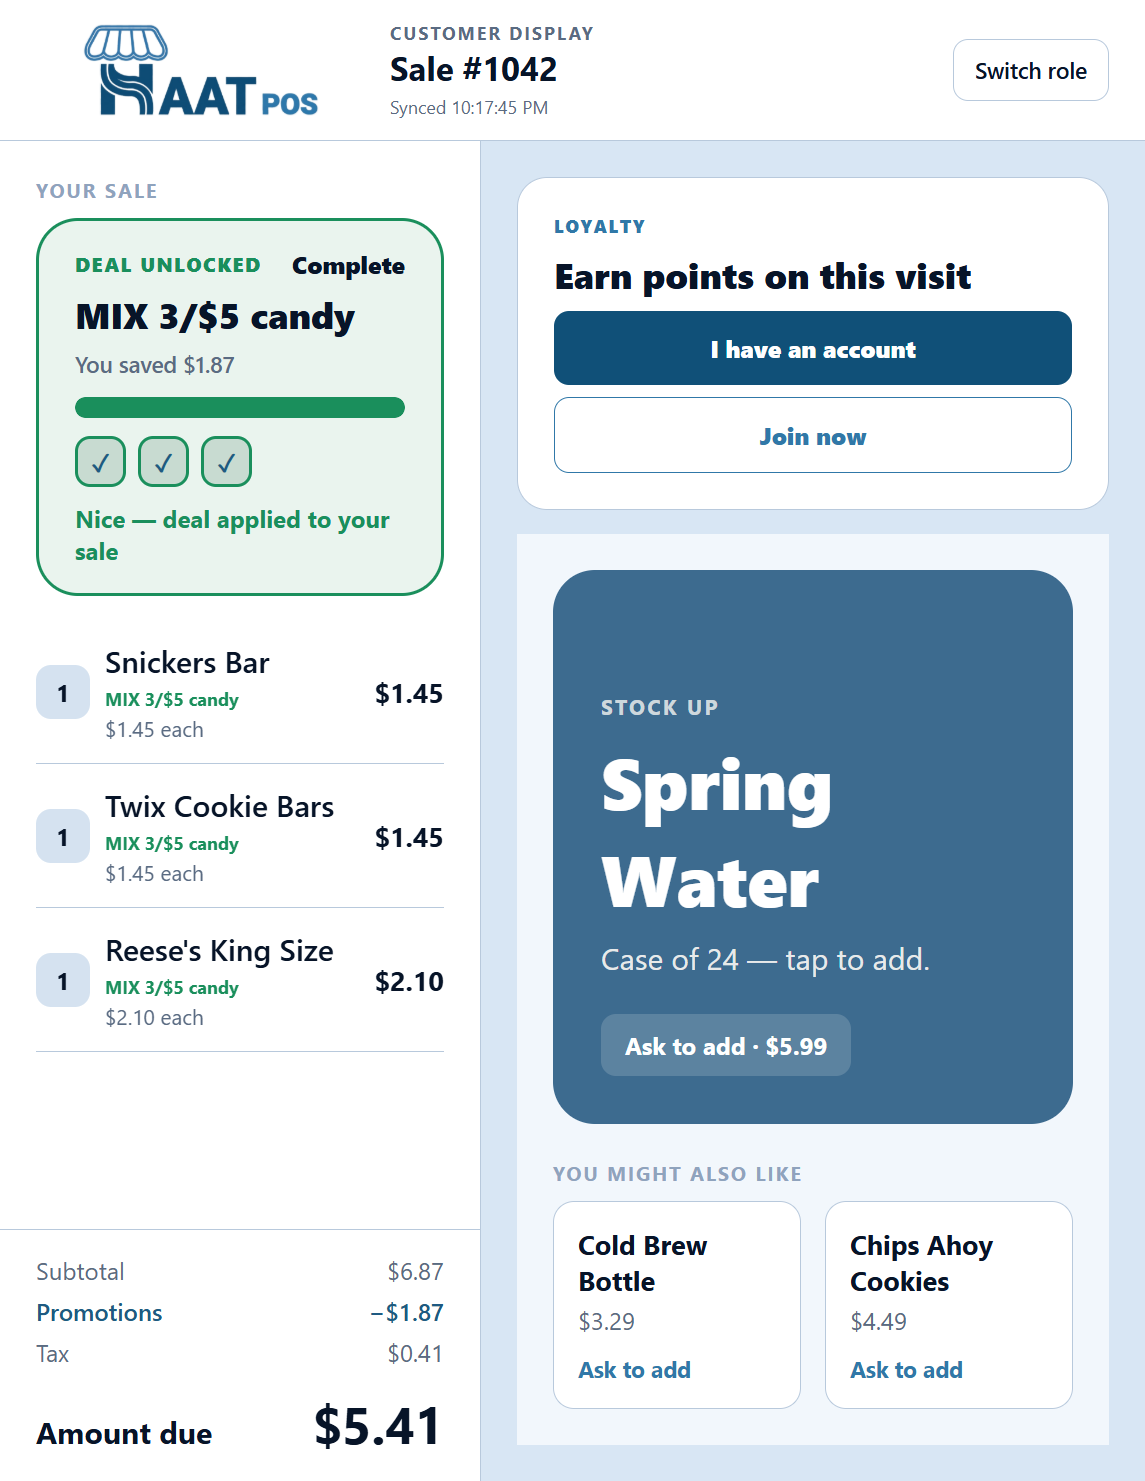
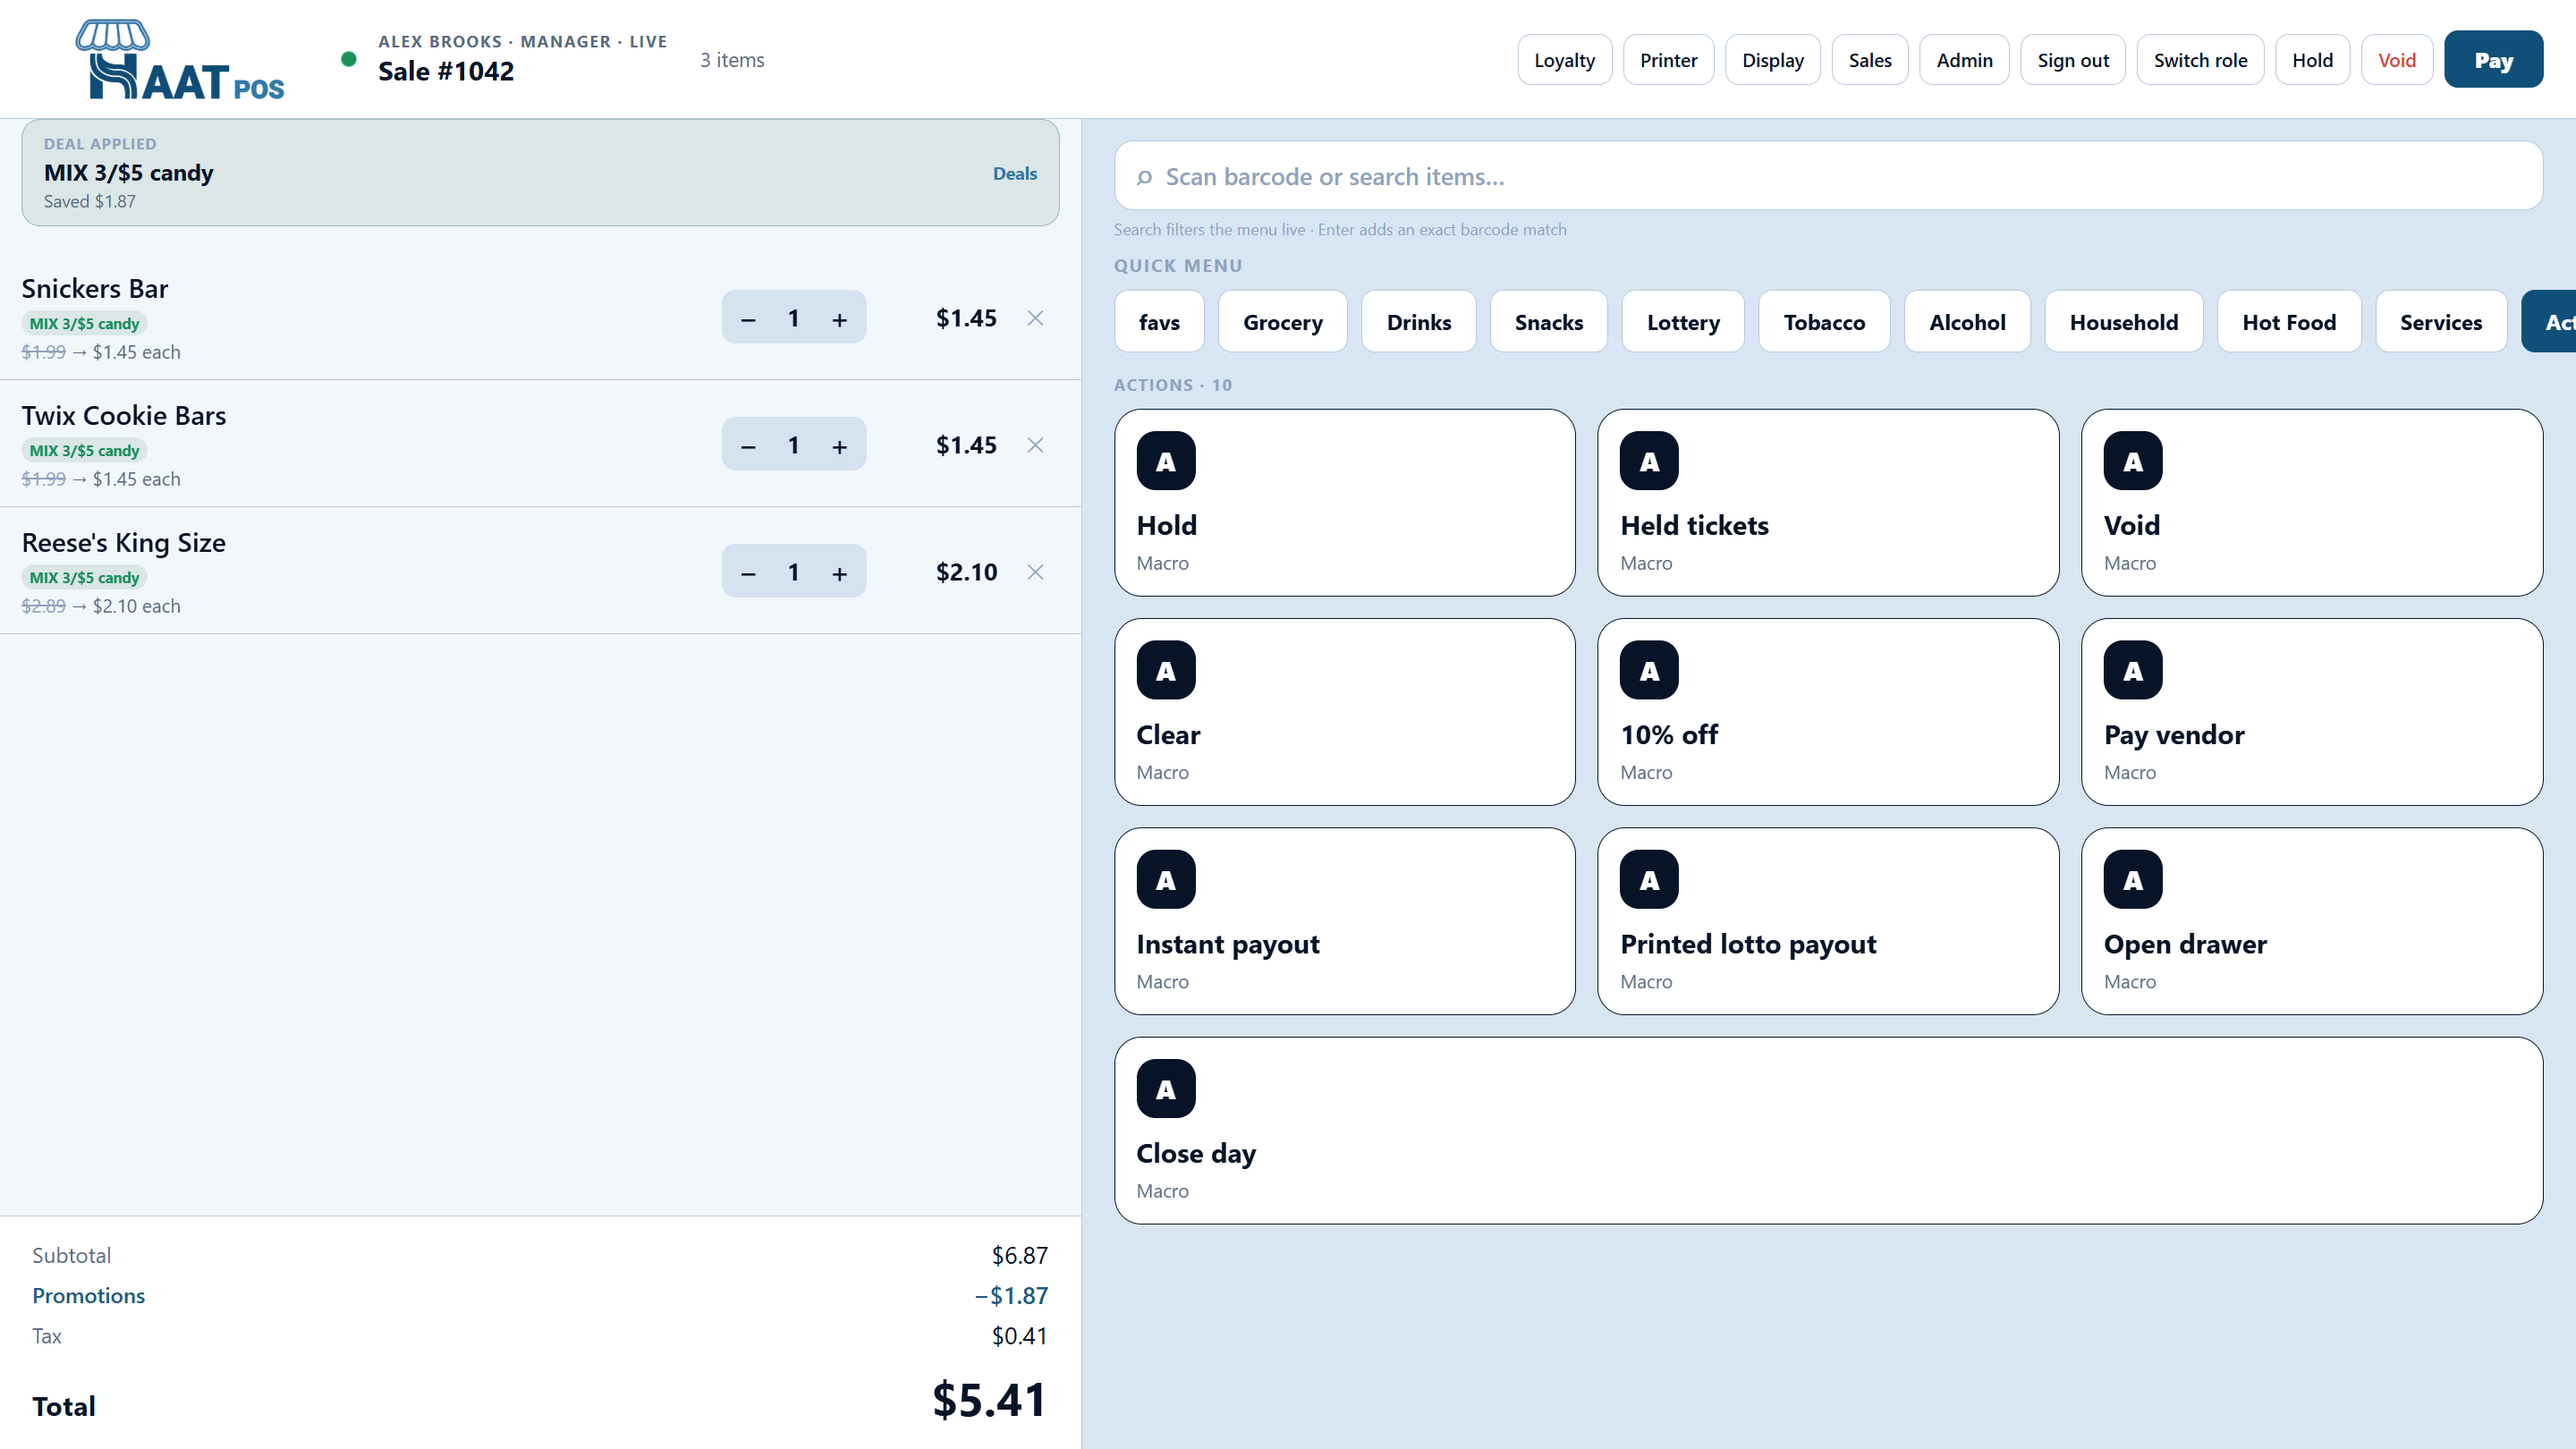
Mix-match, multi-buy, and BOGO deals don’t just discount the ticket — they nudge the guest with a progress quest while the cashier rings.
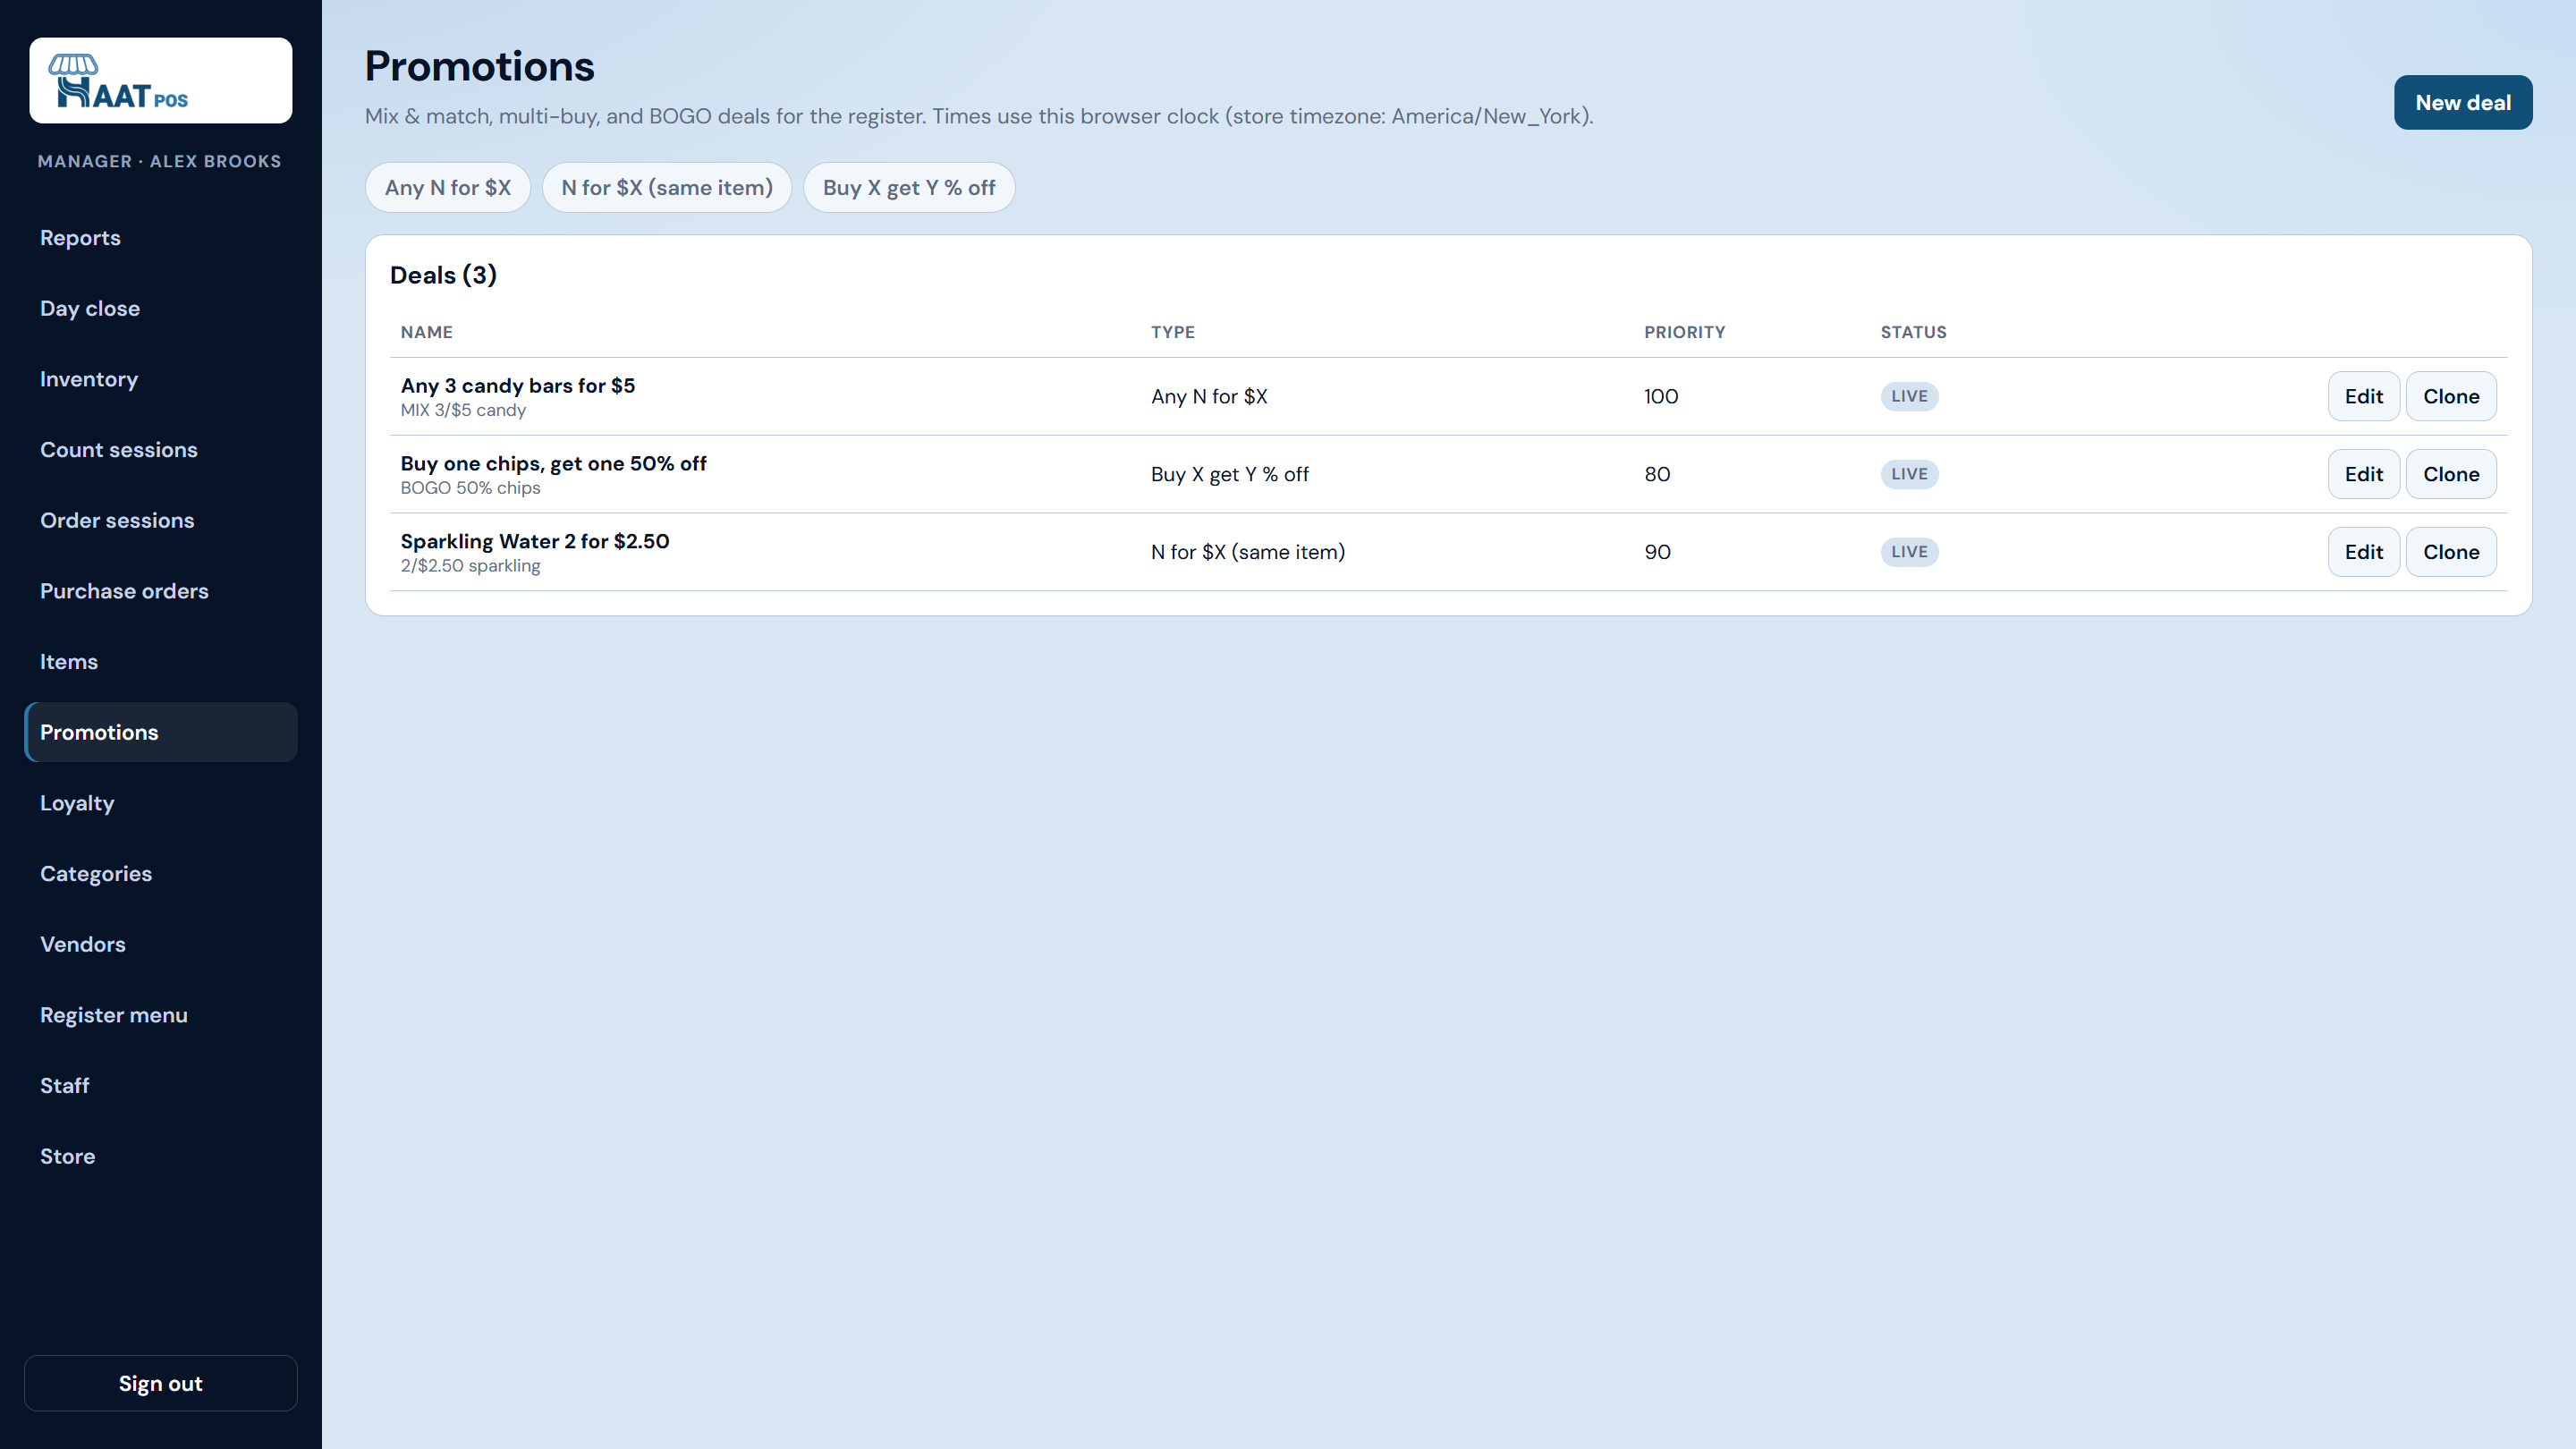
- Manager sets the deal — Admin → Promotions: mix-match (any N for $X), multi-buy (same item), or BOGO. Scope by product or category.
- Guest sees progress — Customer display hero: kickers like “Keep going” / “So close!”, fraction current/target, and slot meters (✓ · ! · ·).
- Deal unlocks — When the qty completes: green “Deal unlocked”, savings on the card and under Promotions on the ticket. Cashier sees “Deal tip” → “Deal applied” in parallel.
Pay & lottery
Split tenders. Cash-only lines. Lottery payouts.
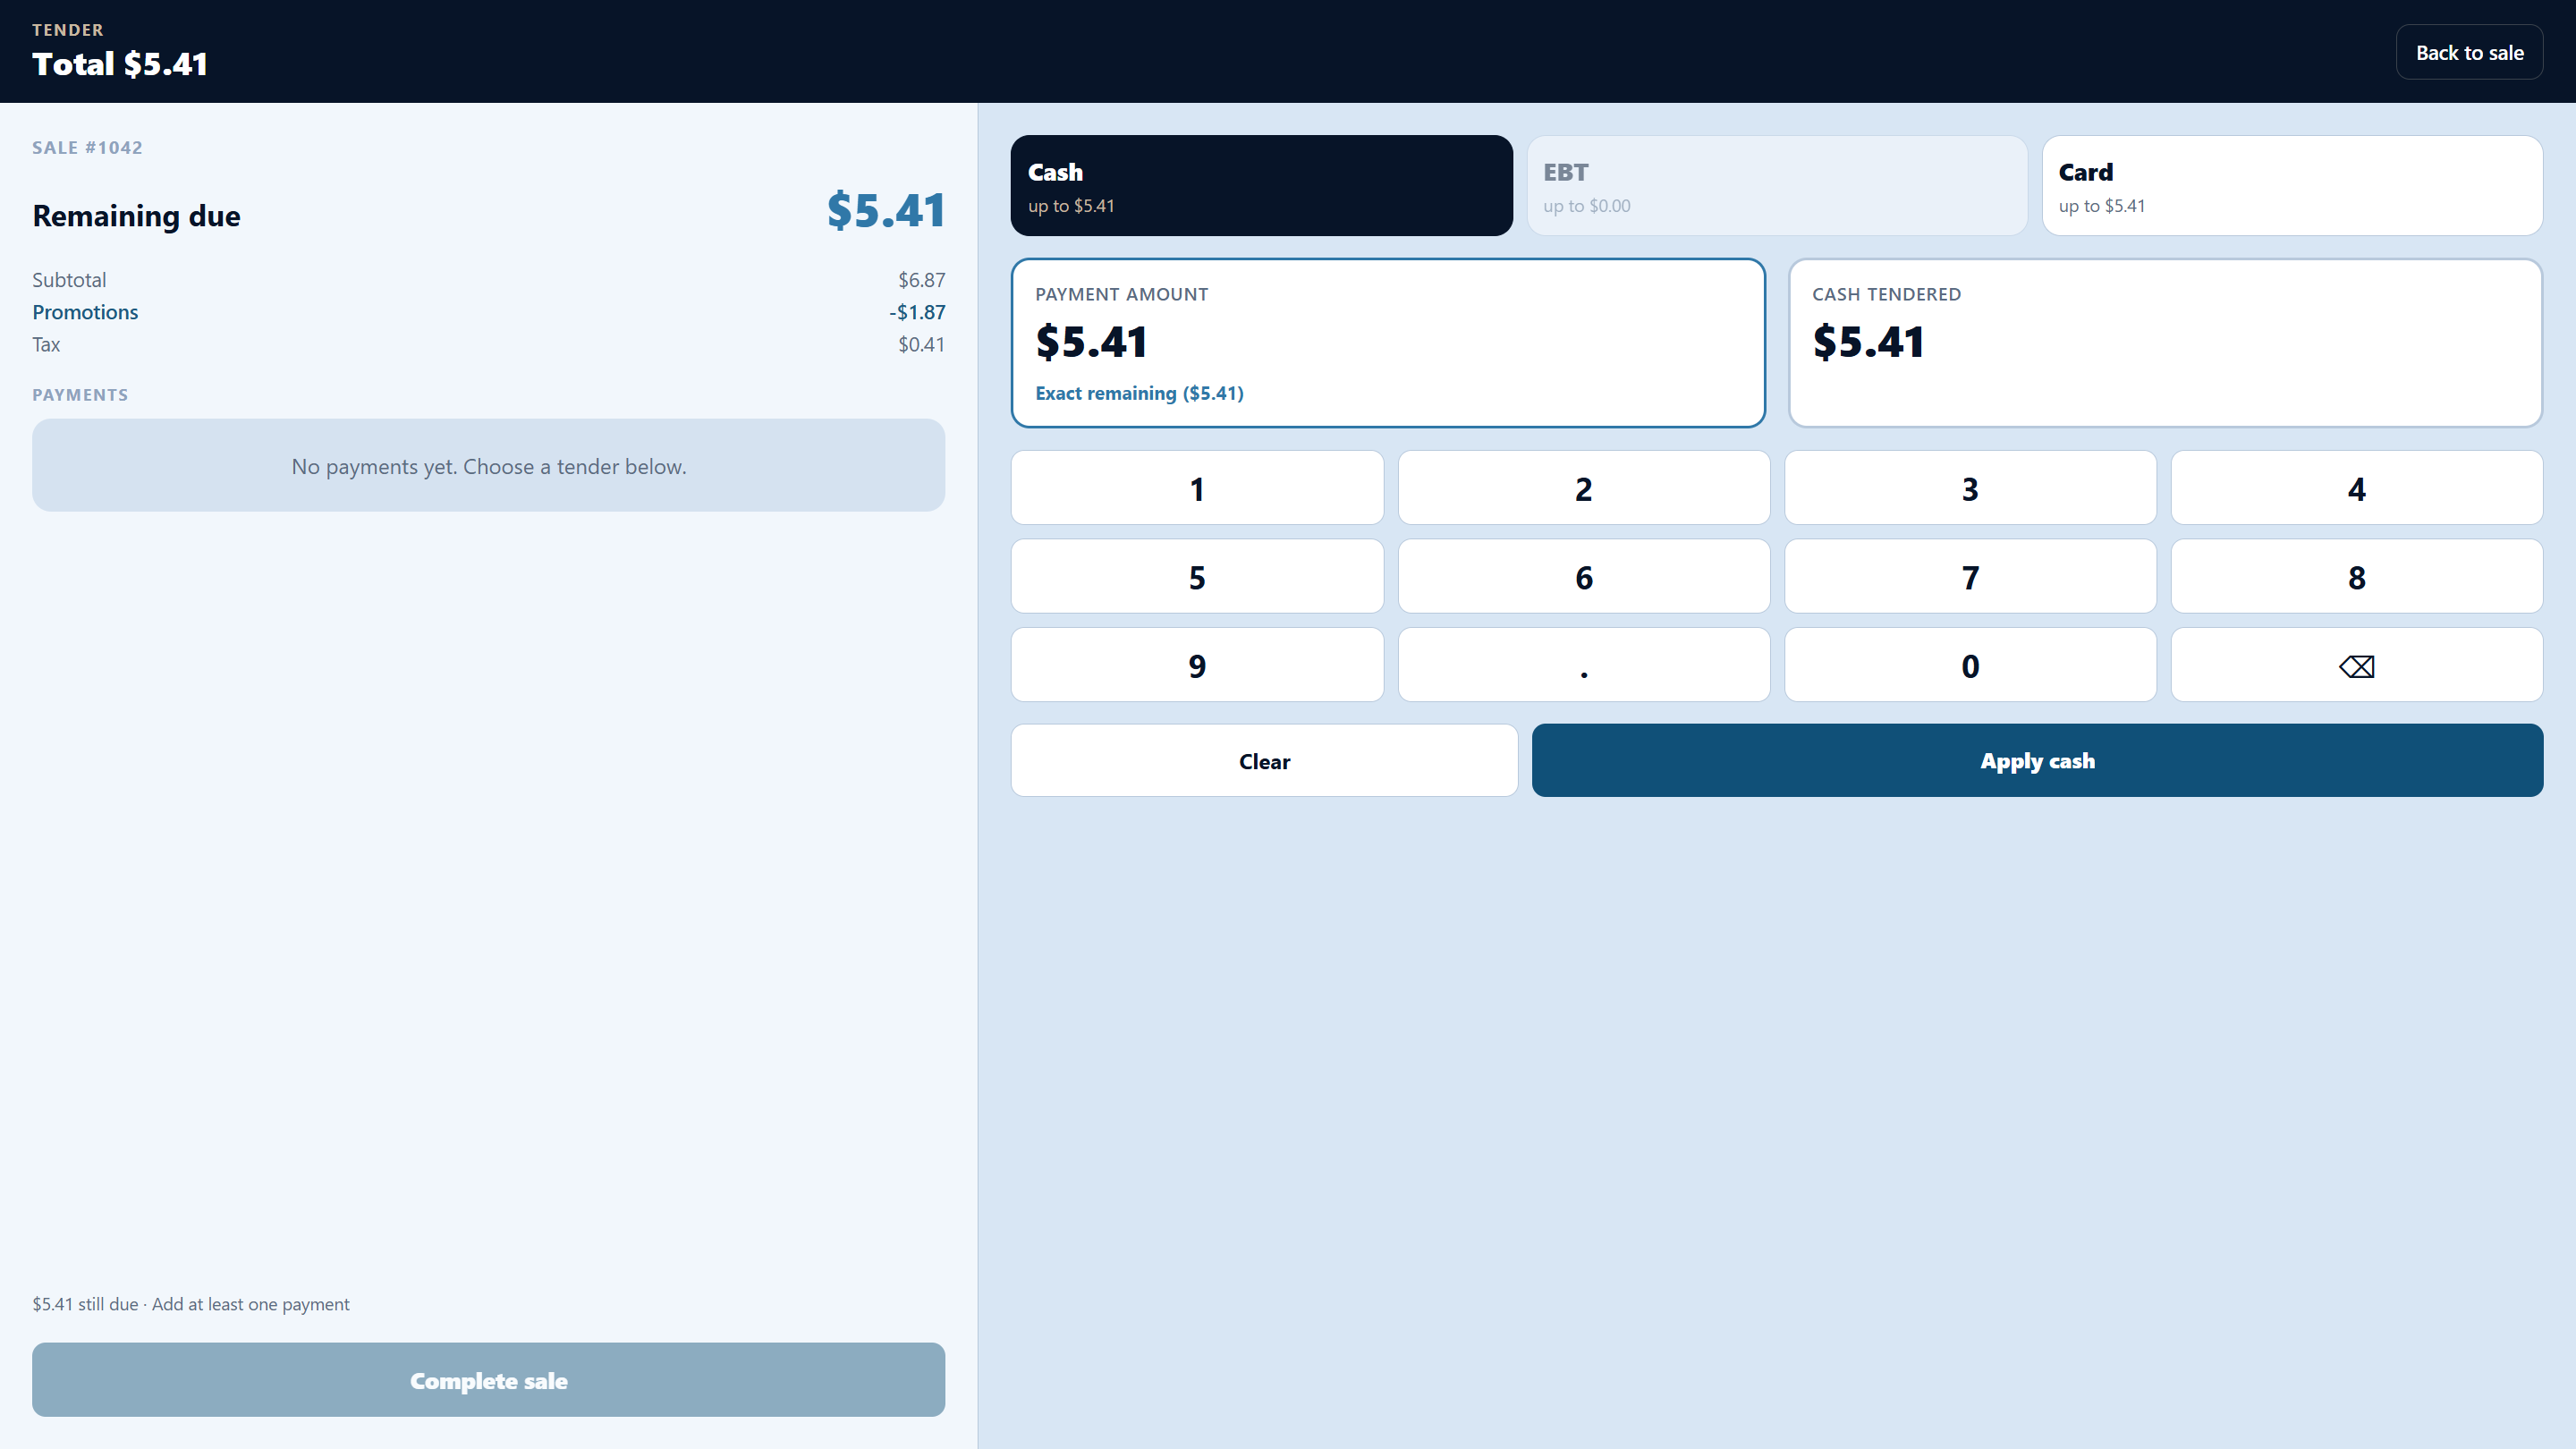
One sale can take Cash, Card, and EBT together — with rules that match how convenience and liquor stores actually settle.
Split tenders
Apply cash, charge card, and charge EBT on the same sale. EBT only covers EBT-eligible lines; card can’t finish cash-only dollars.
Cash-only items
Catalog flag Cash only (fees, lottery tickets, etc.). Pay screen shows cash-only still due so the cashier knows what needs cash.
Lottery payouts
Actions → Instant payout or Printed lotto payout→ amount + notes → Apply to ticket as a lottery credit, then finish in Pay (drawer cash by default; manager limits for larger wins).
Store controls
Admin → Store → Lottery toggles tiles, force-cash payouts, notes required, and lottery-only sales.
Purchasing
Suggested POs → finalize → receive.
Generate reorder drafts from low stock, edit lines, finalize, then receive — including invoice photo OCR on the floor or in the portal.
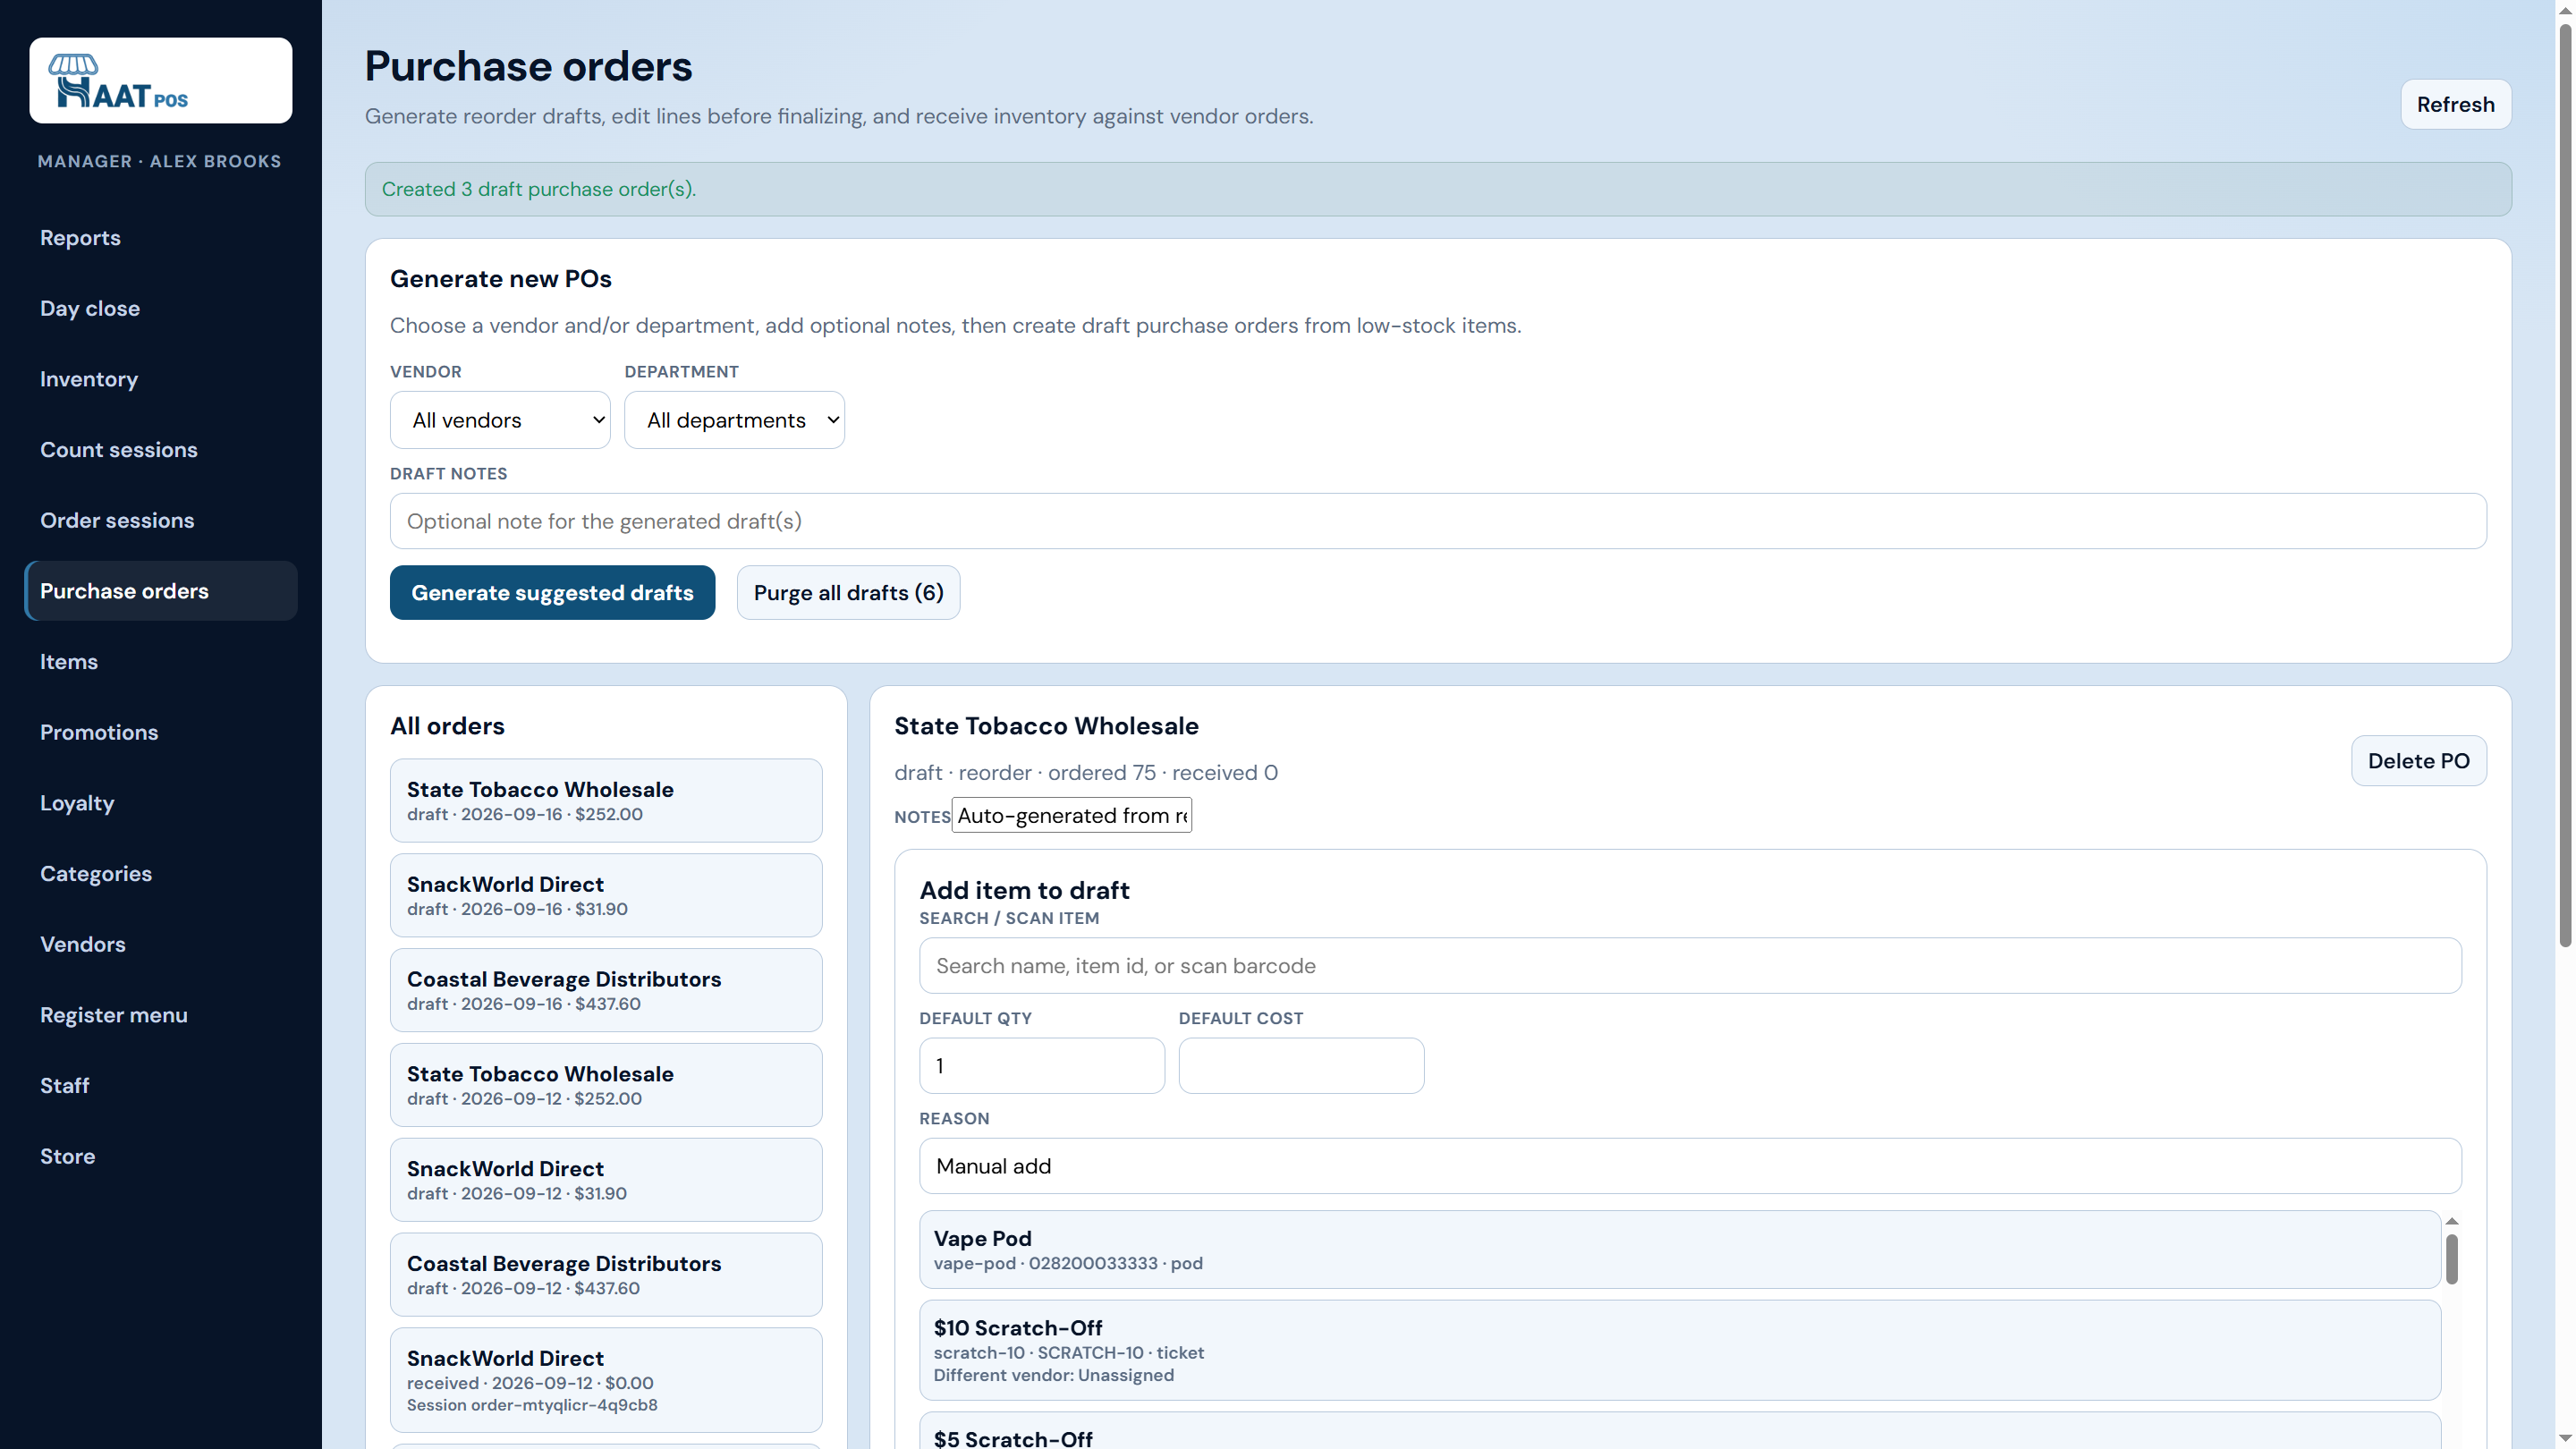
- Generate drafts — Portal → Purchase orders → choose vendor and/or department → Generate suggested drafts from low-stock items (or approve a floor order session into per-vendor drafts).
- Edit the draft — Adjust ordered qty, add/remove lines, notes →Save draft.
- Finalize — Locks the order for receiving (Finalize).
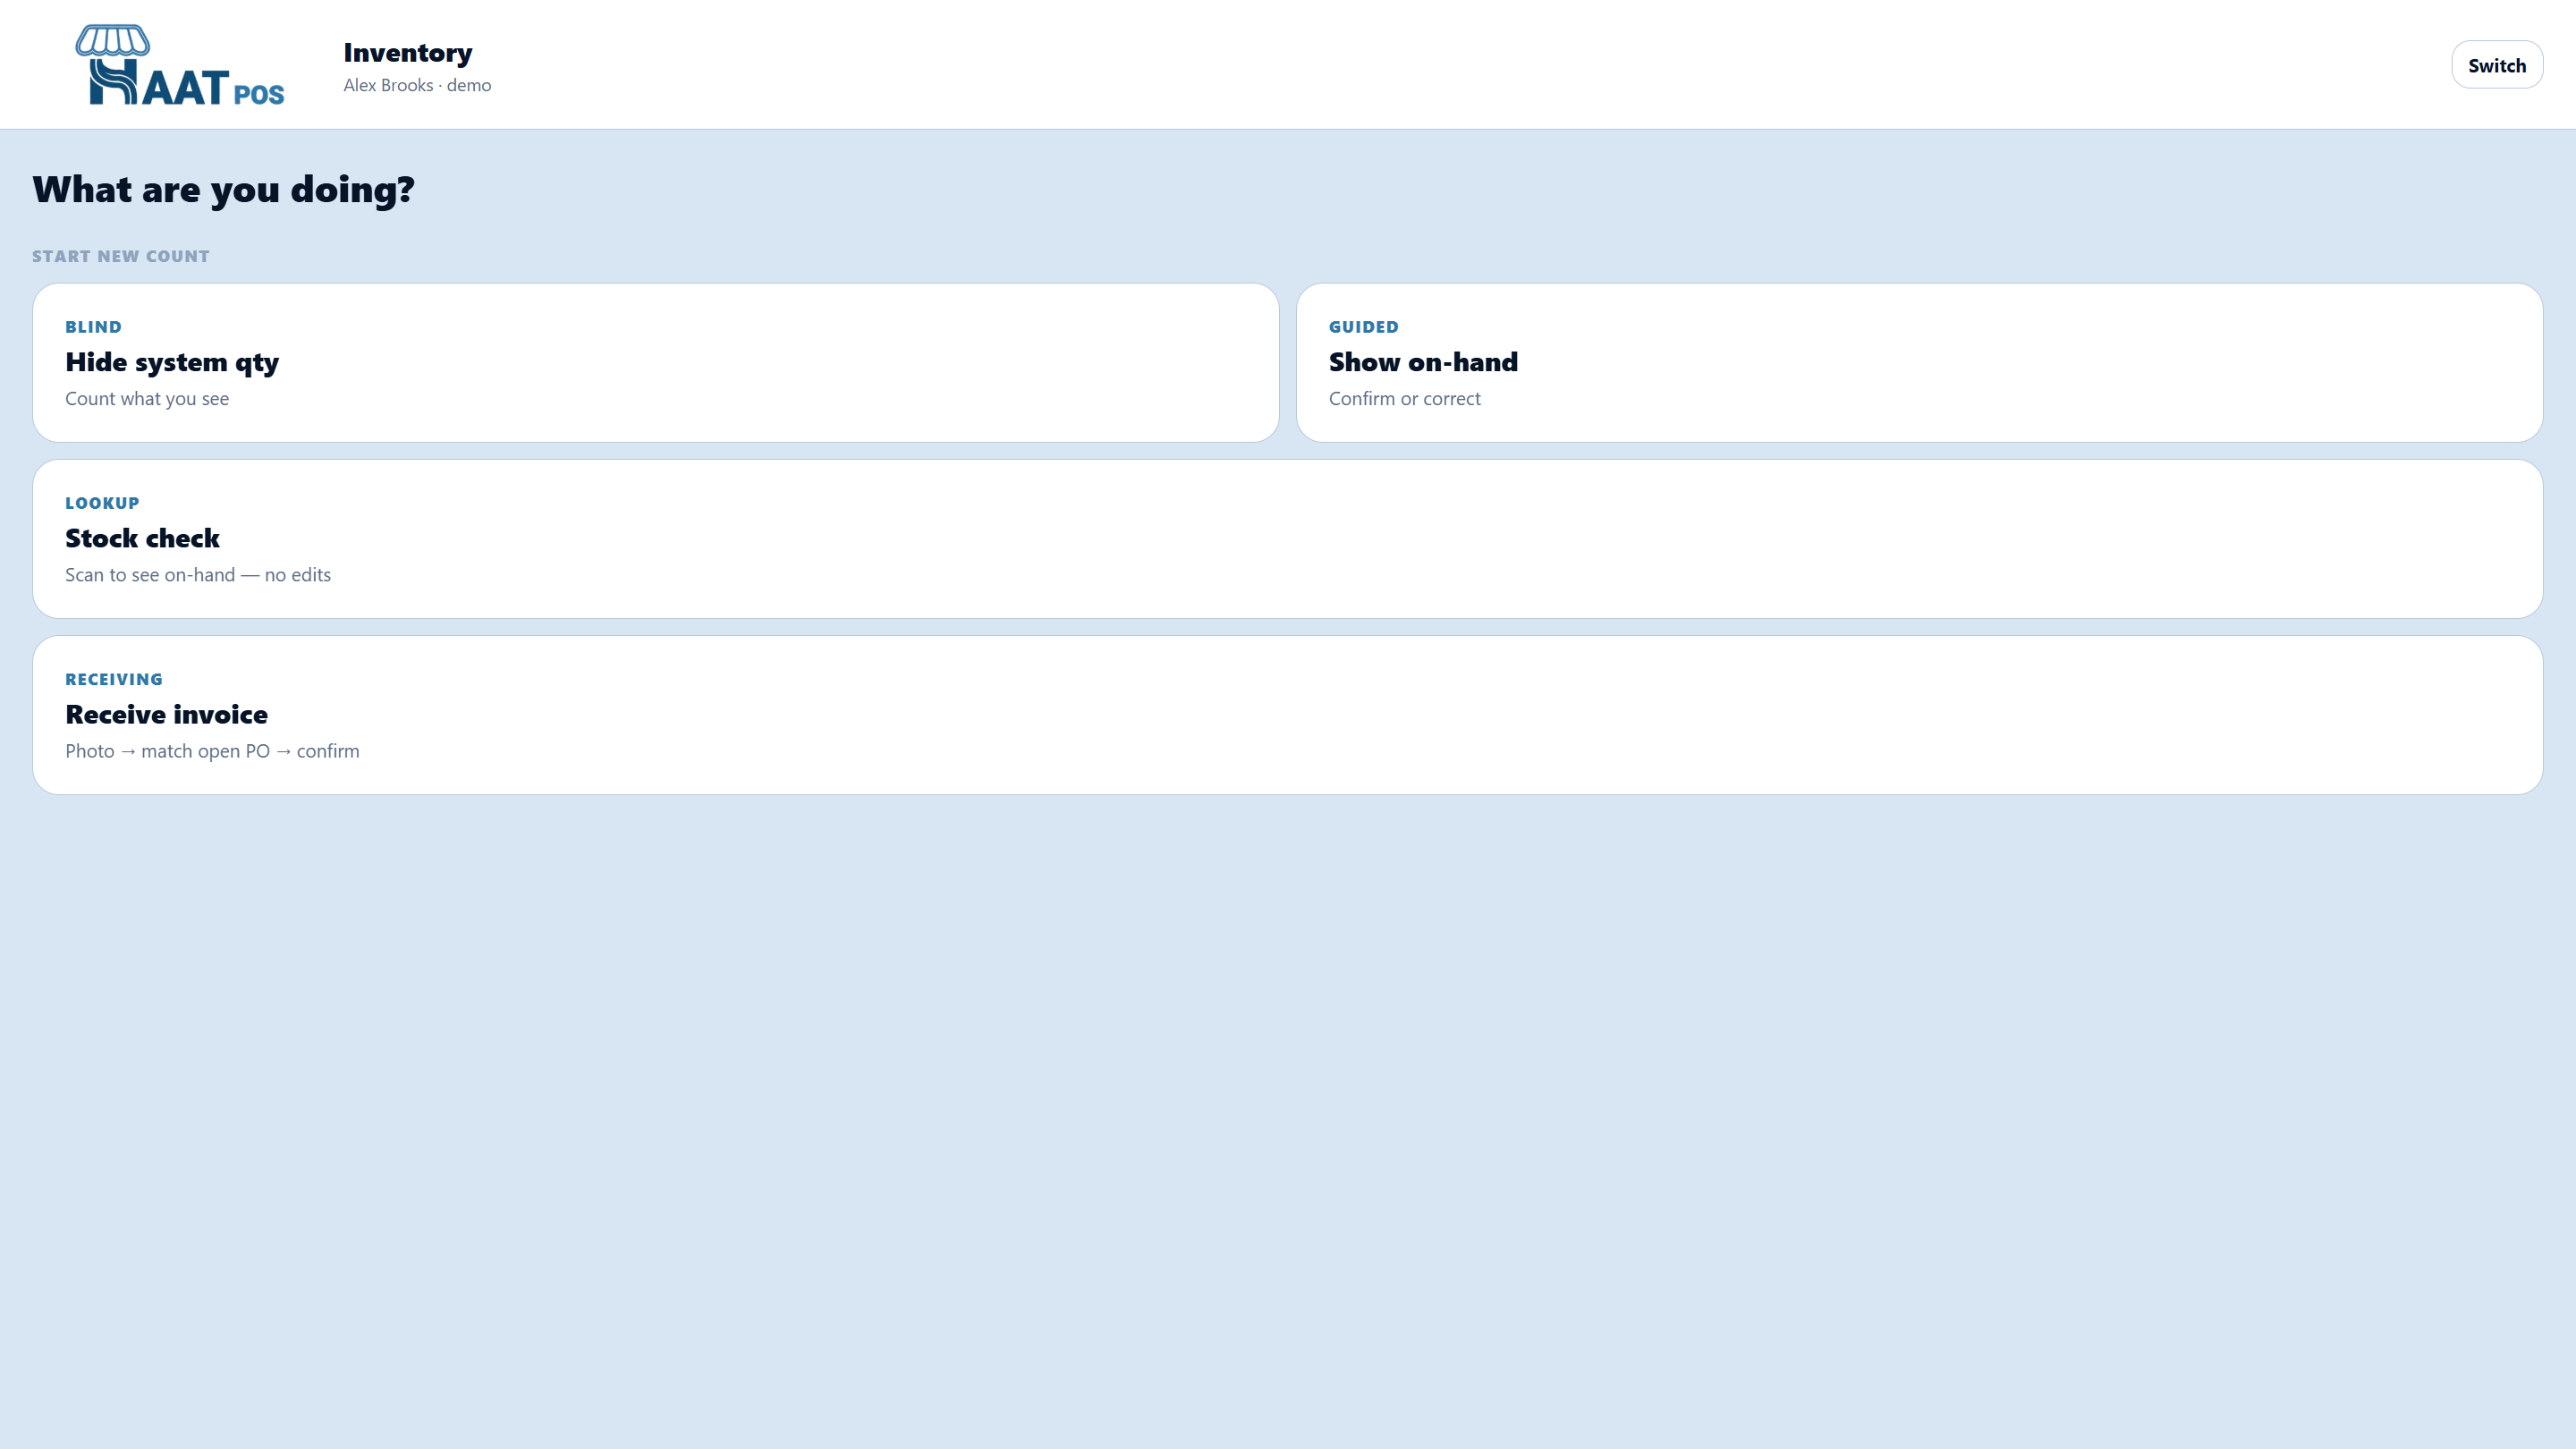
- Receive — Enter receive quantities manually, orScan invoice (JPEG / PDF) for OCR match. Floor Inventory:Receive invoice → photograph → flatten → review match →Confirm receive (manager PIN when needed).
Inventory counts
Blind or guided — then manager reconcile.
Floor staff run the count; managers apply variances in the admin portal.
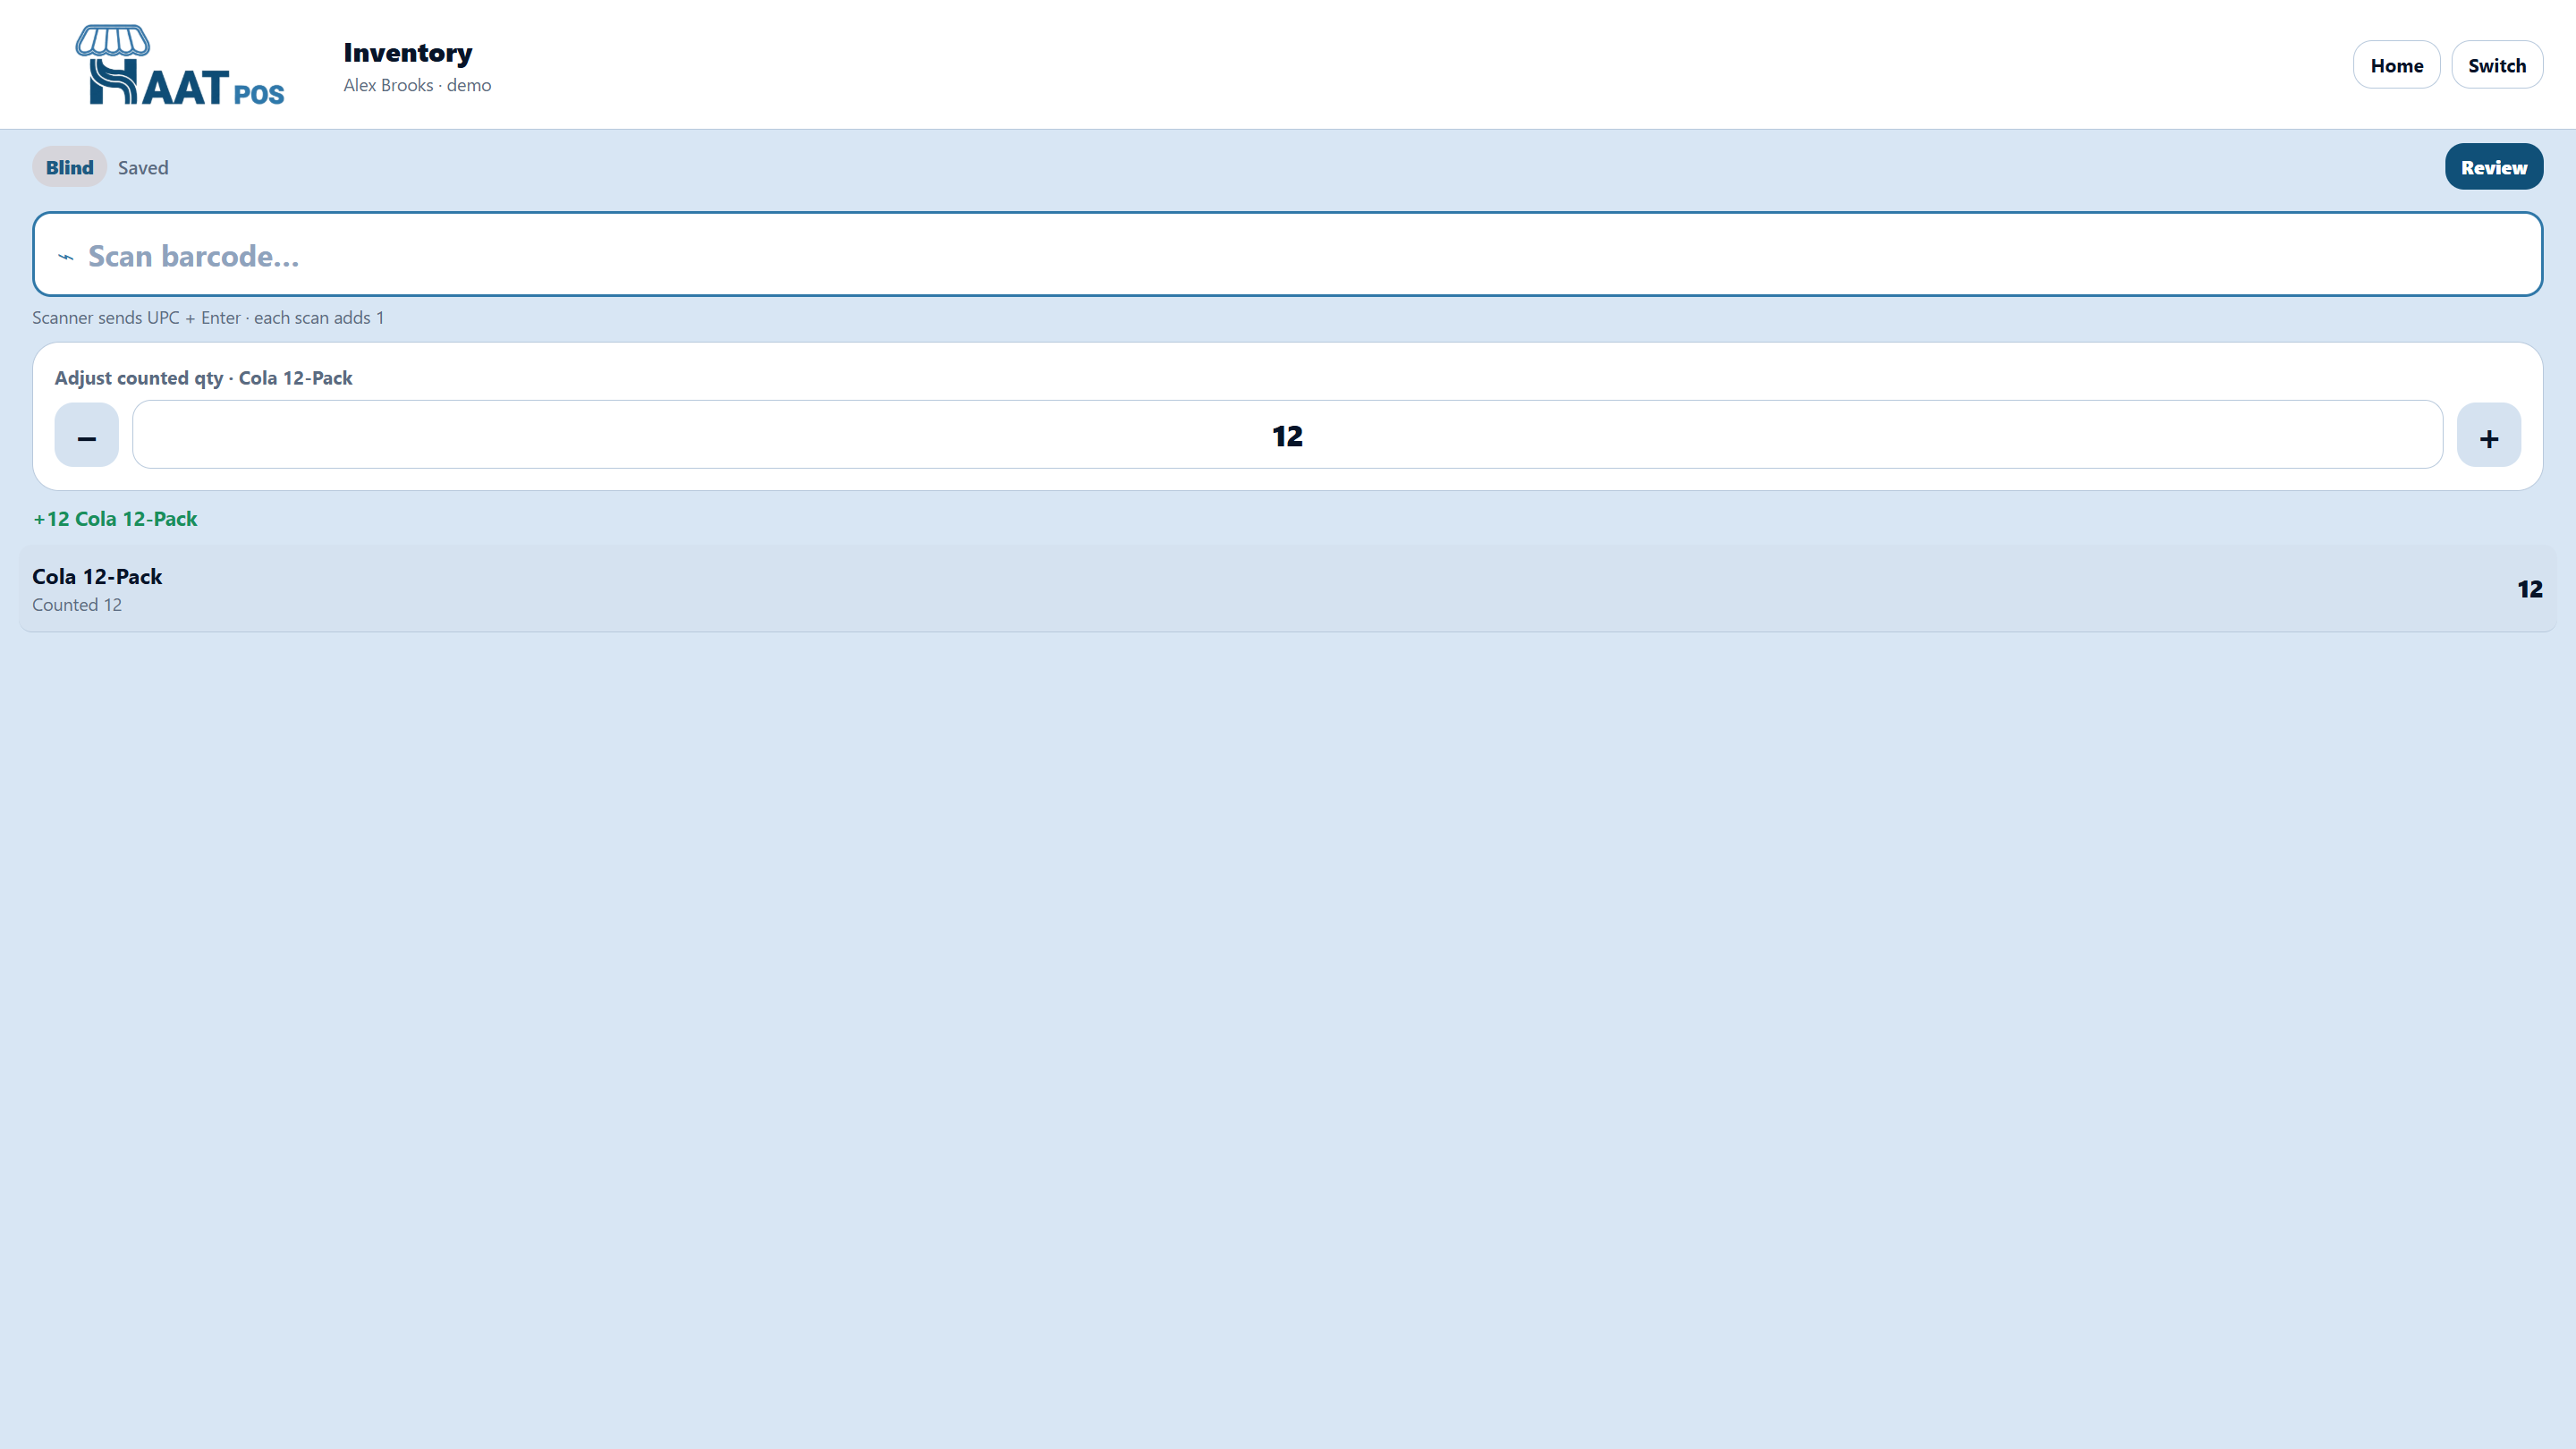
- Start on Inventory — Blind (hide system qty) orGuided (show on-hand) — “Count what you see” / “Confirm or correct”.
- Scan & adjust — Each scan adds quantity; +/− on the active line. Local draft syncs to the cloud.
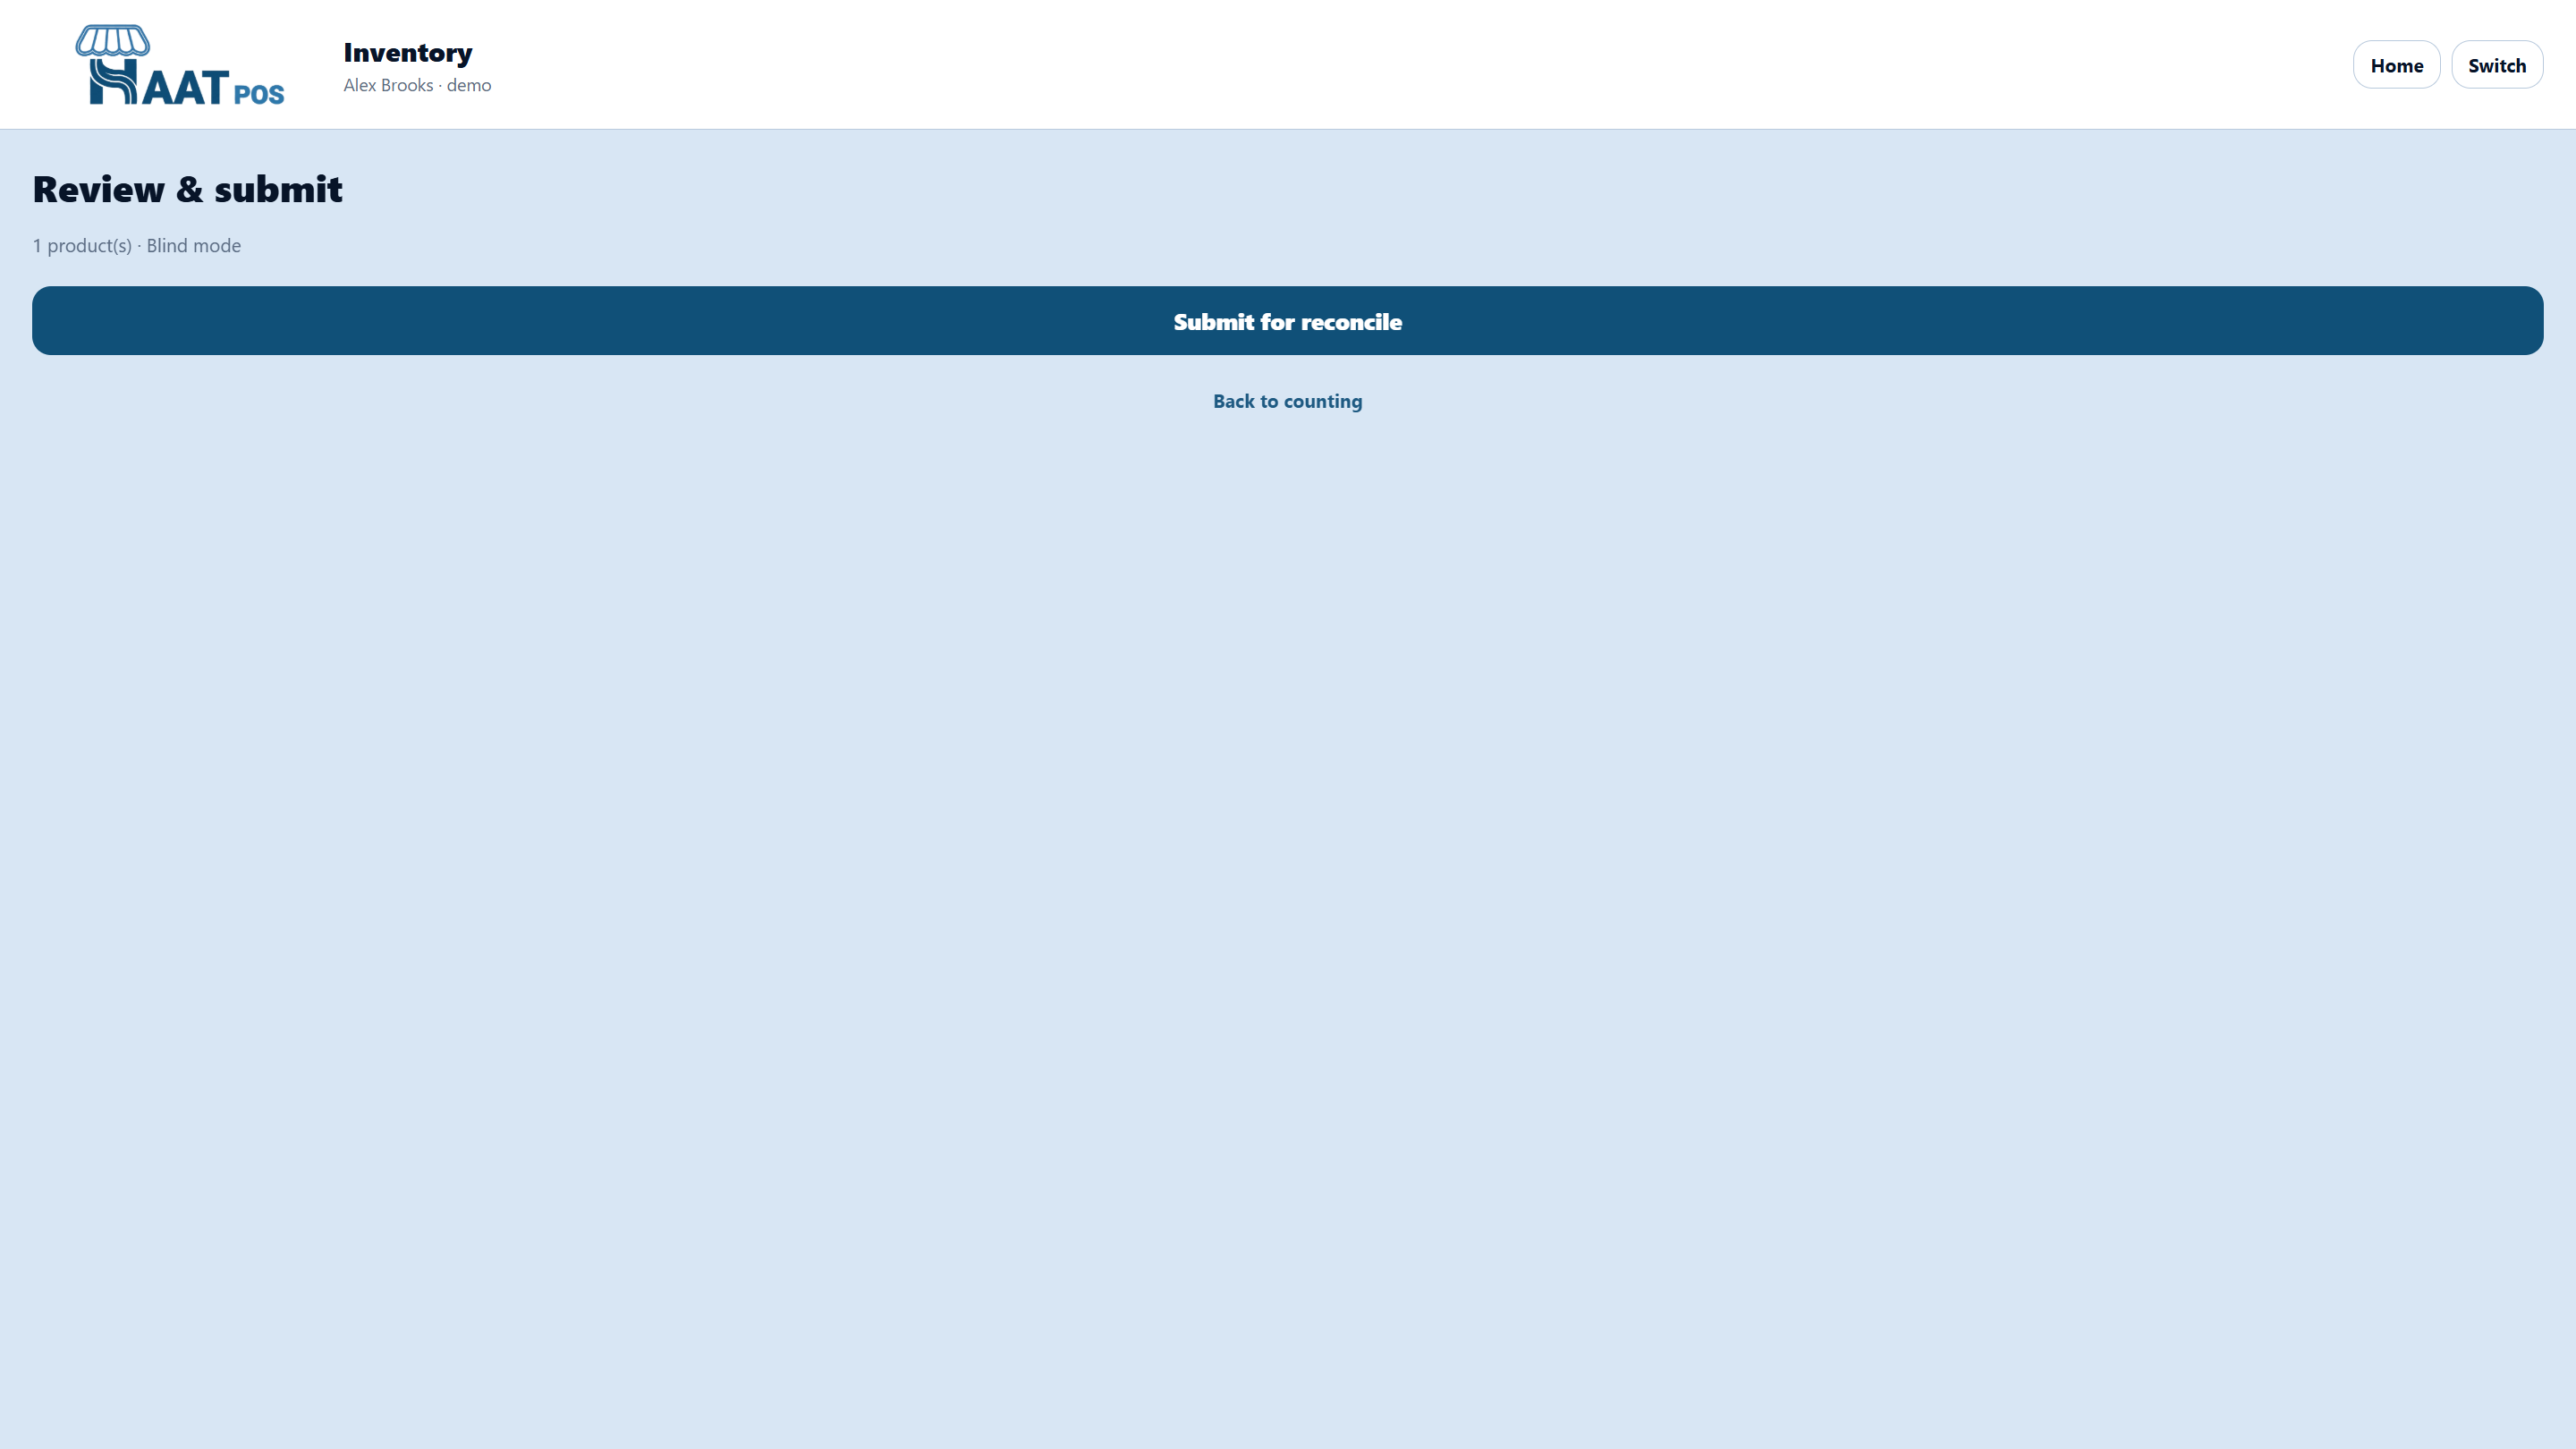
- Submit for reconcile — Review & submit → managers openCount sessions in admin.
- Apply & save report — Edit apply qty, skip lines, export CSV/PDF — or discard.
Handheld ordering
Default vendor — changeable before you submit.
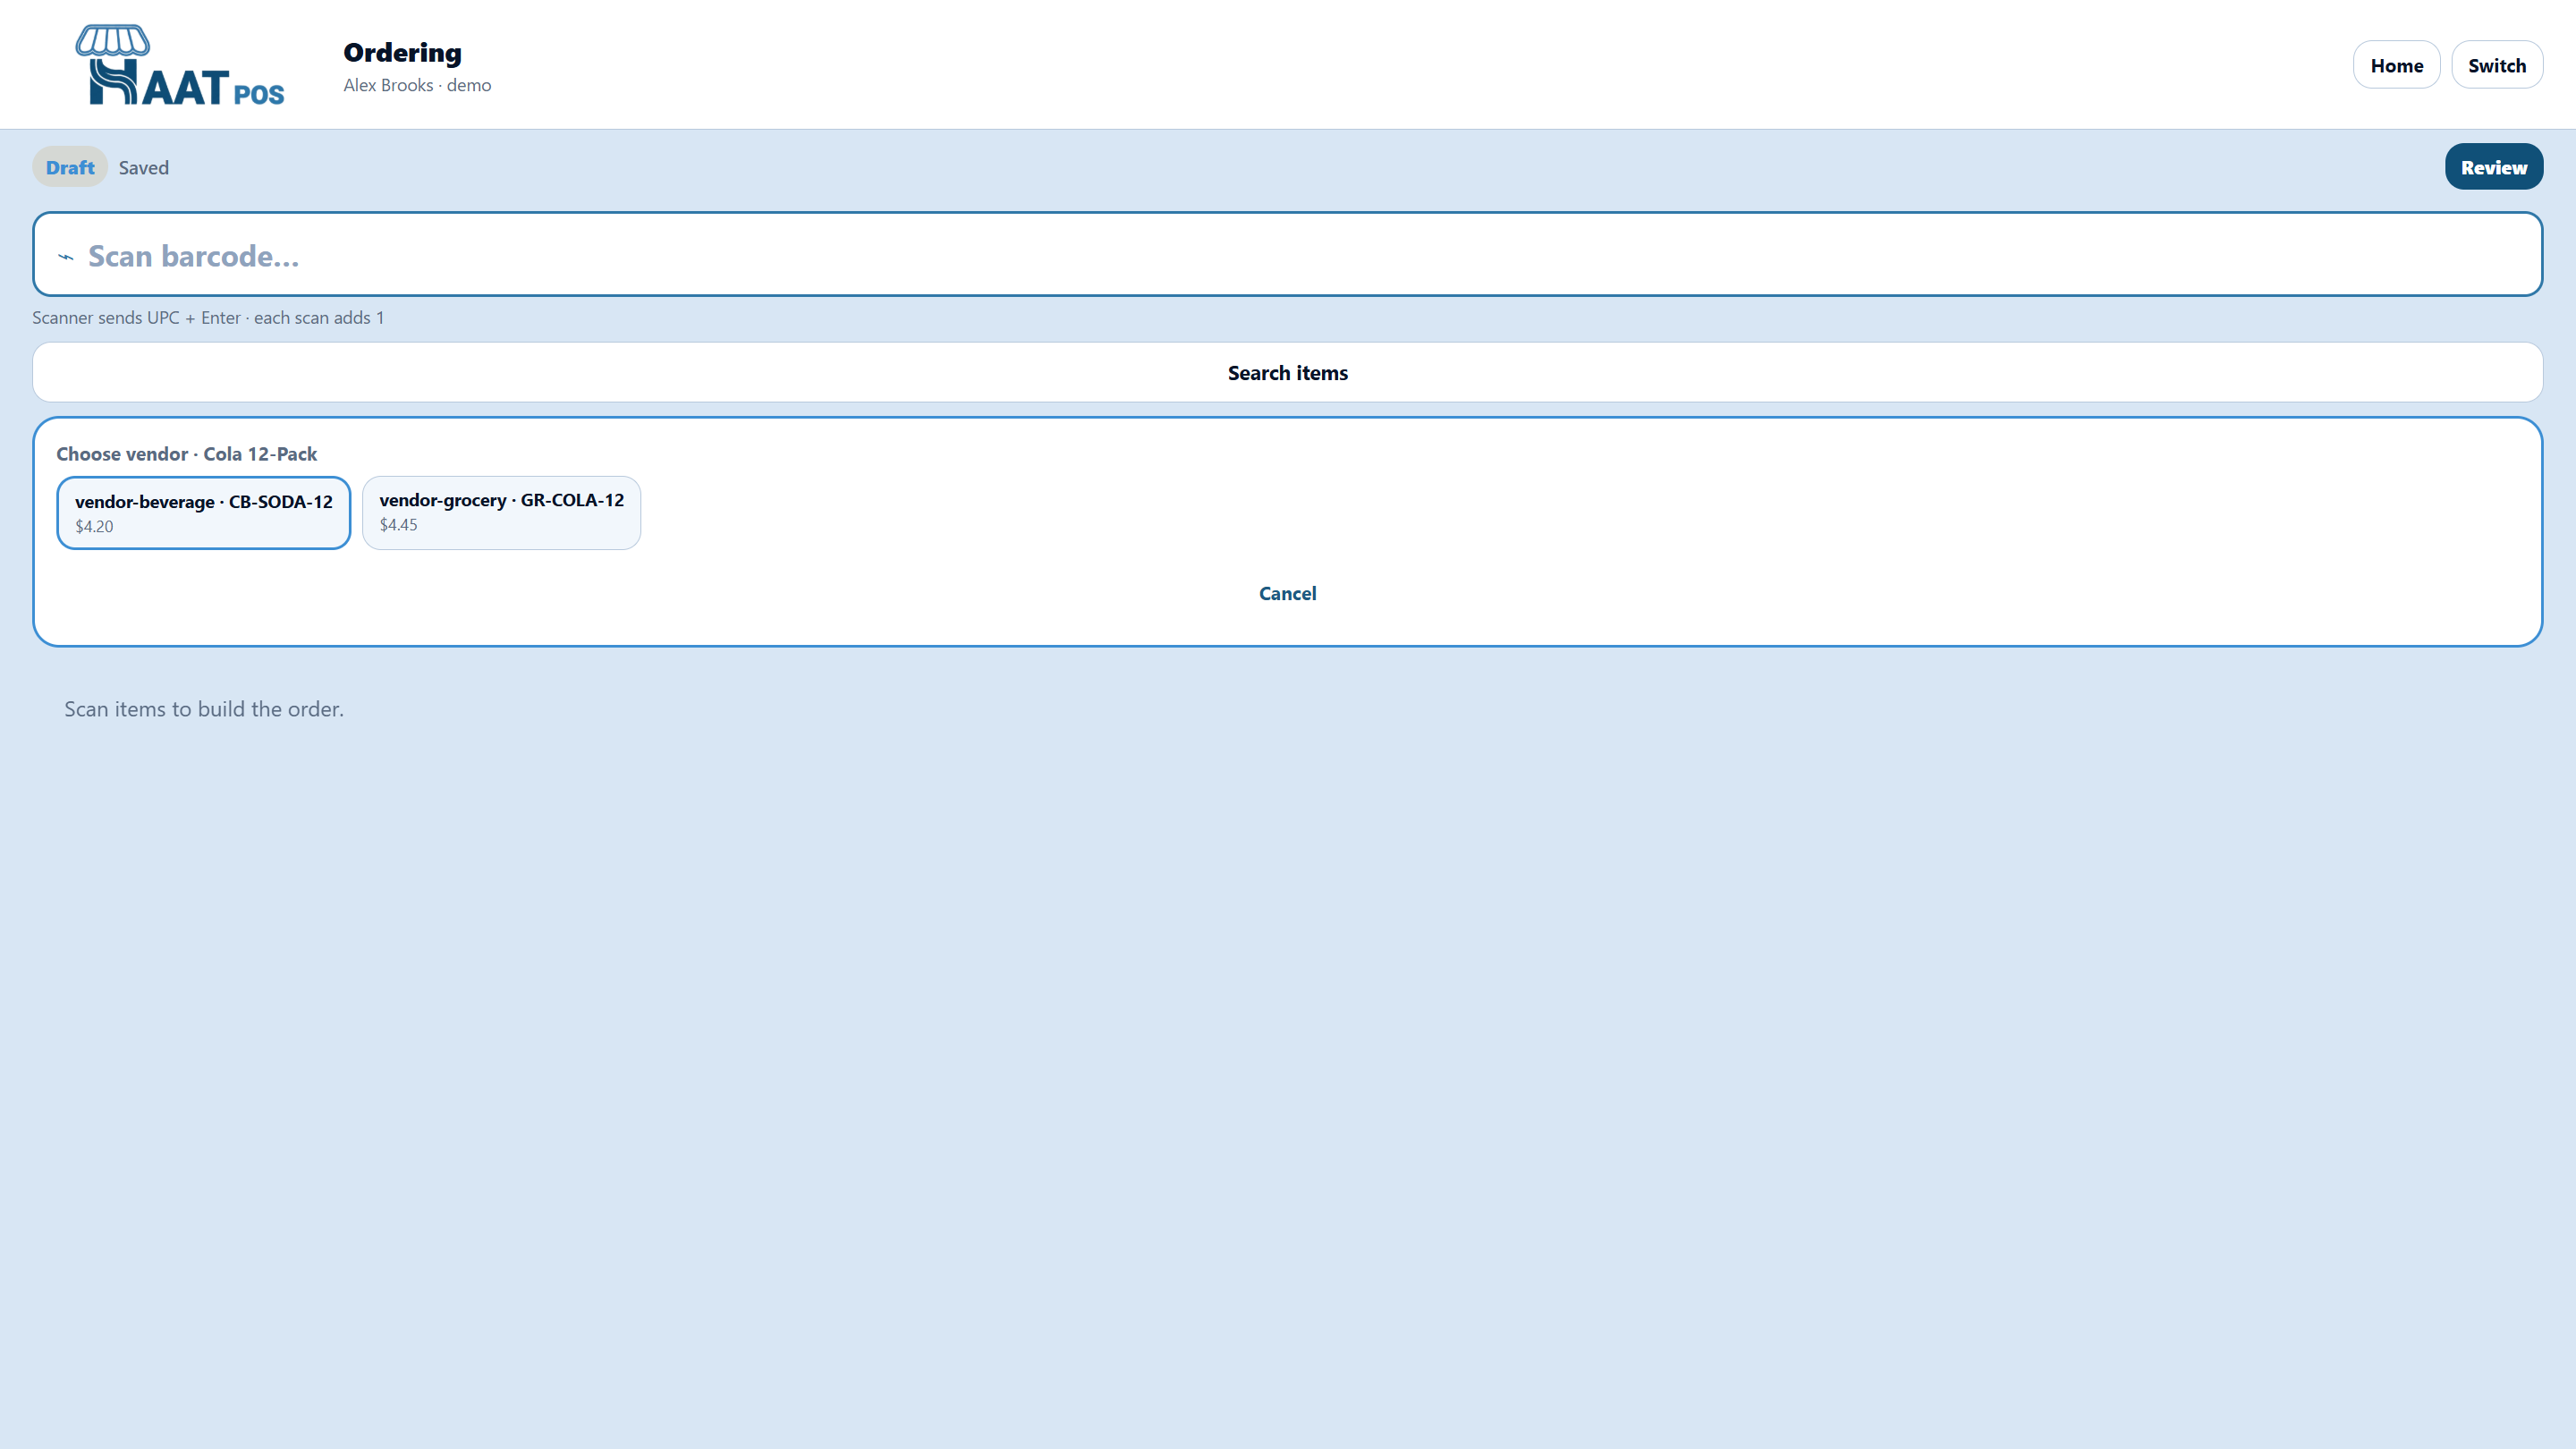
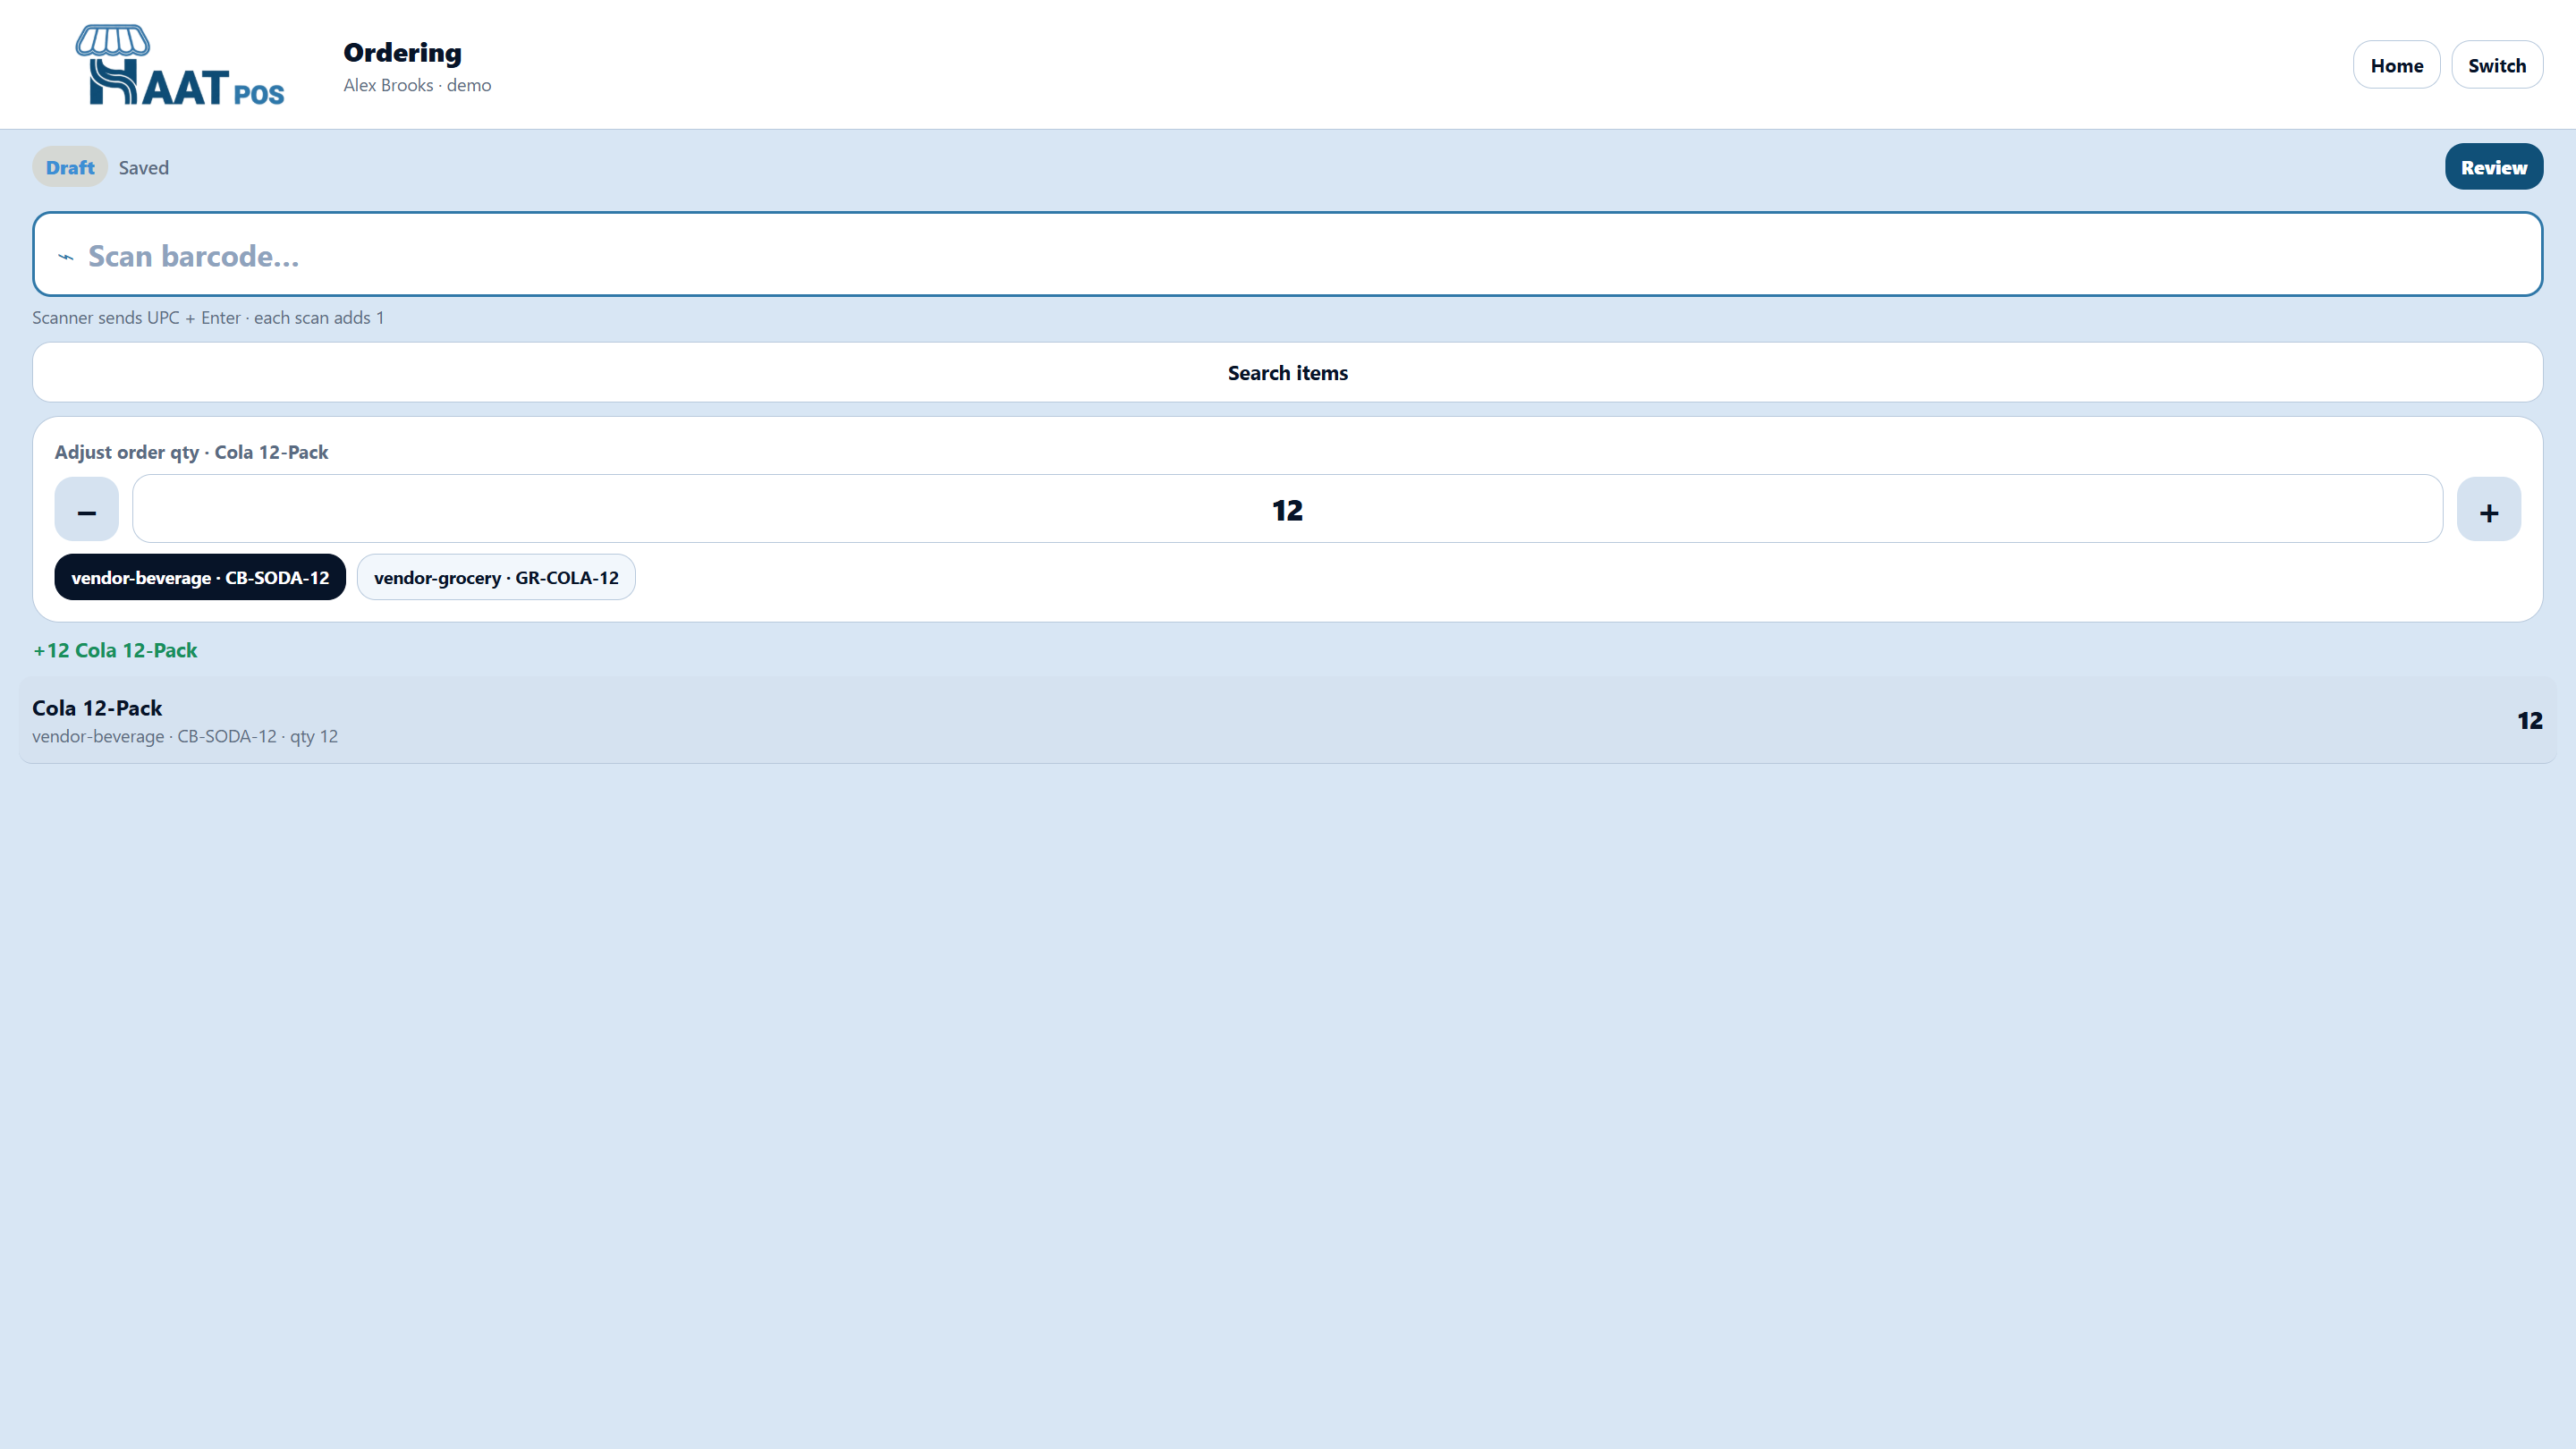
The Ordering role builds a vendor order by scanning. Preferred vendor is selected by default; multi-vendor items prompt a choice, and chips stay editable until submit.
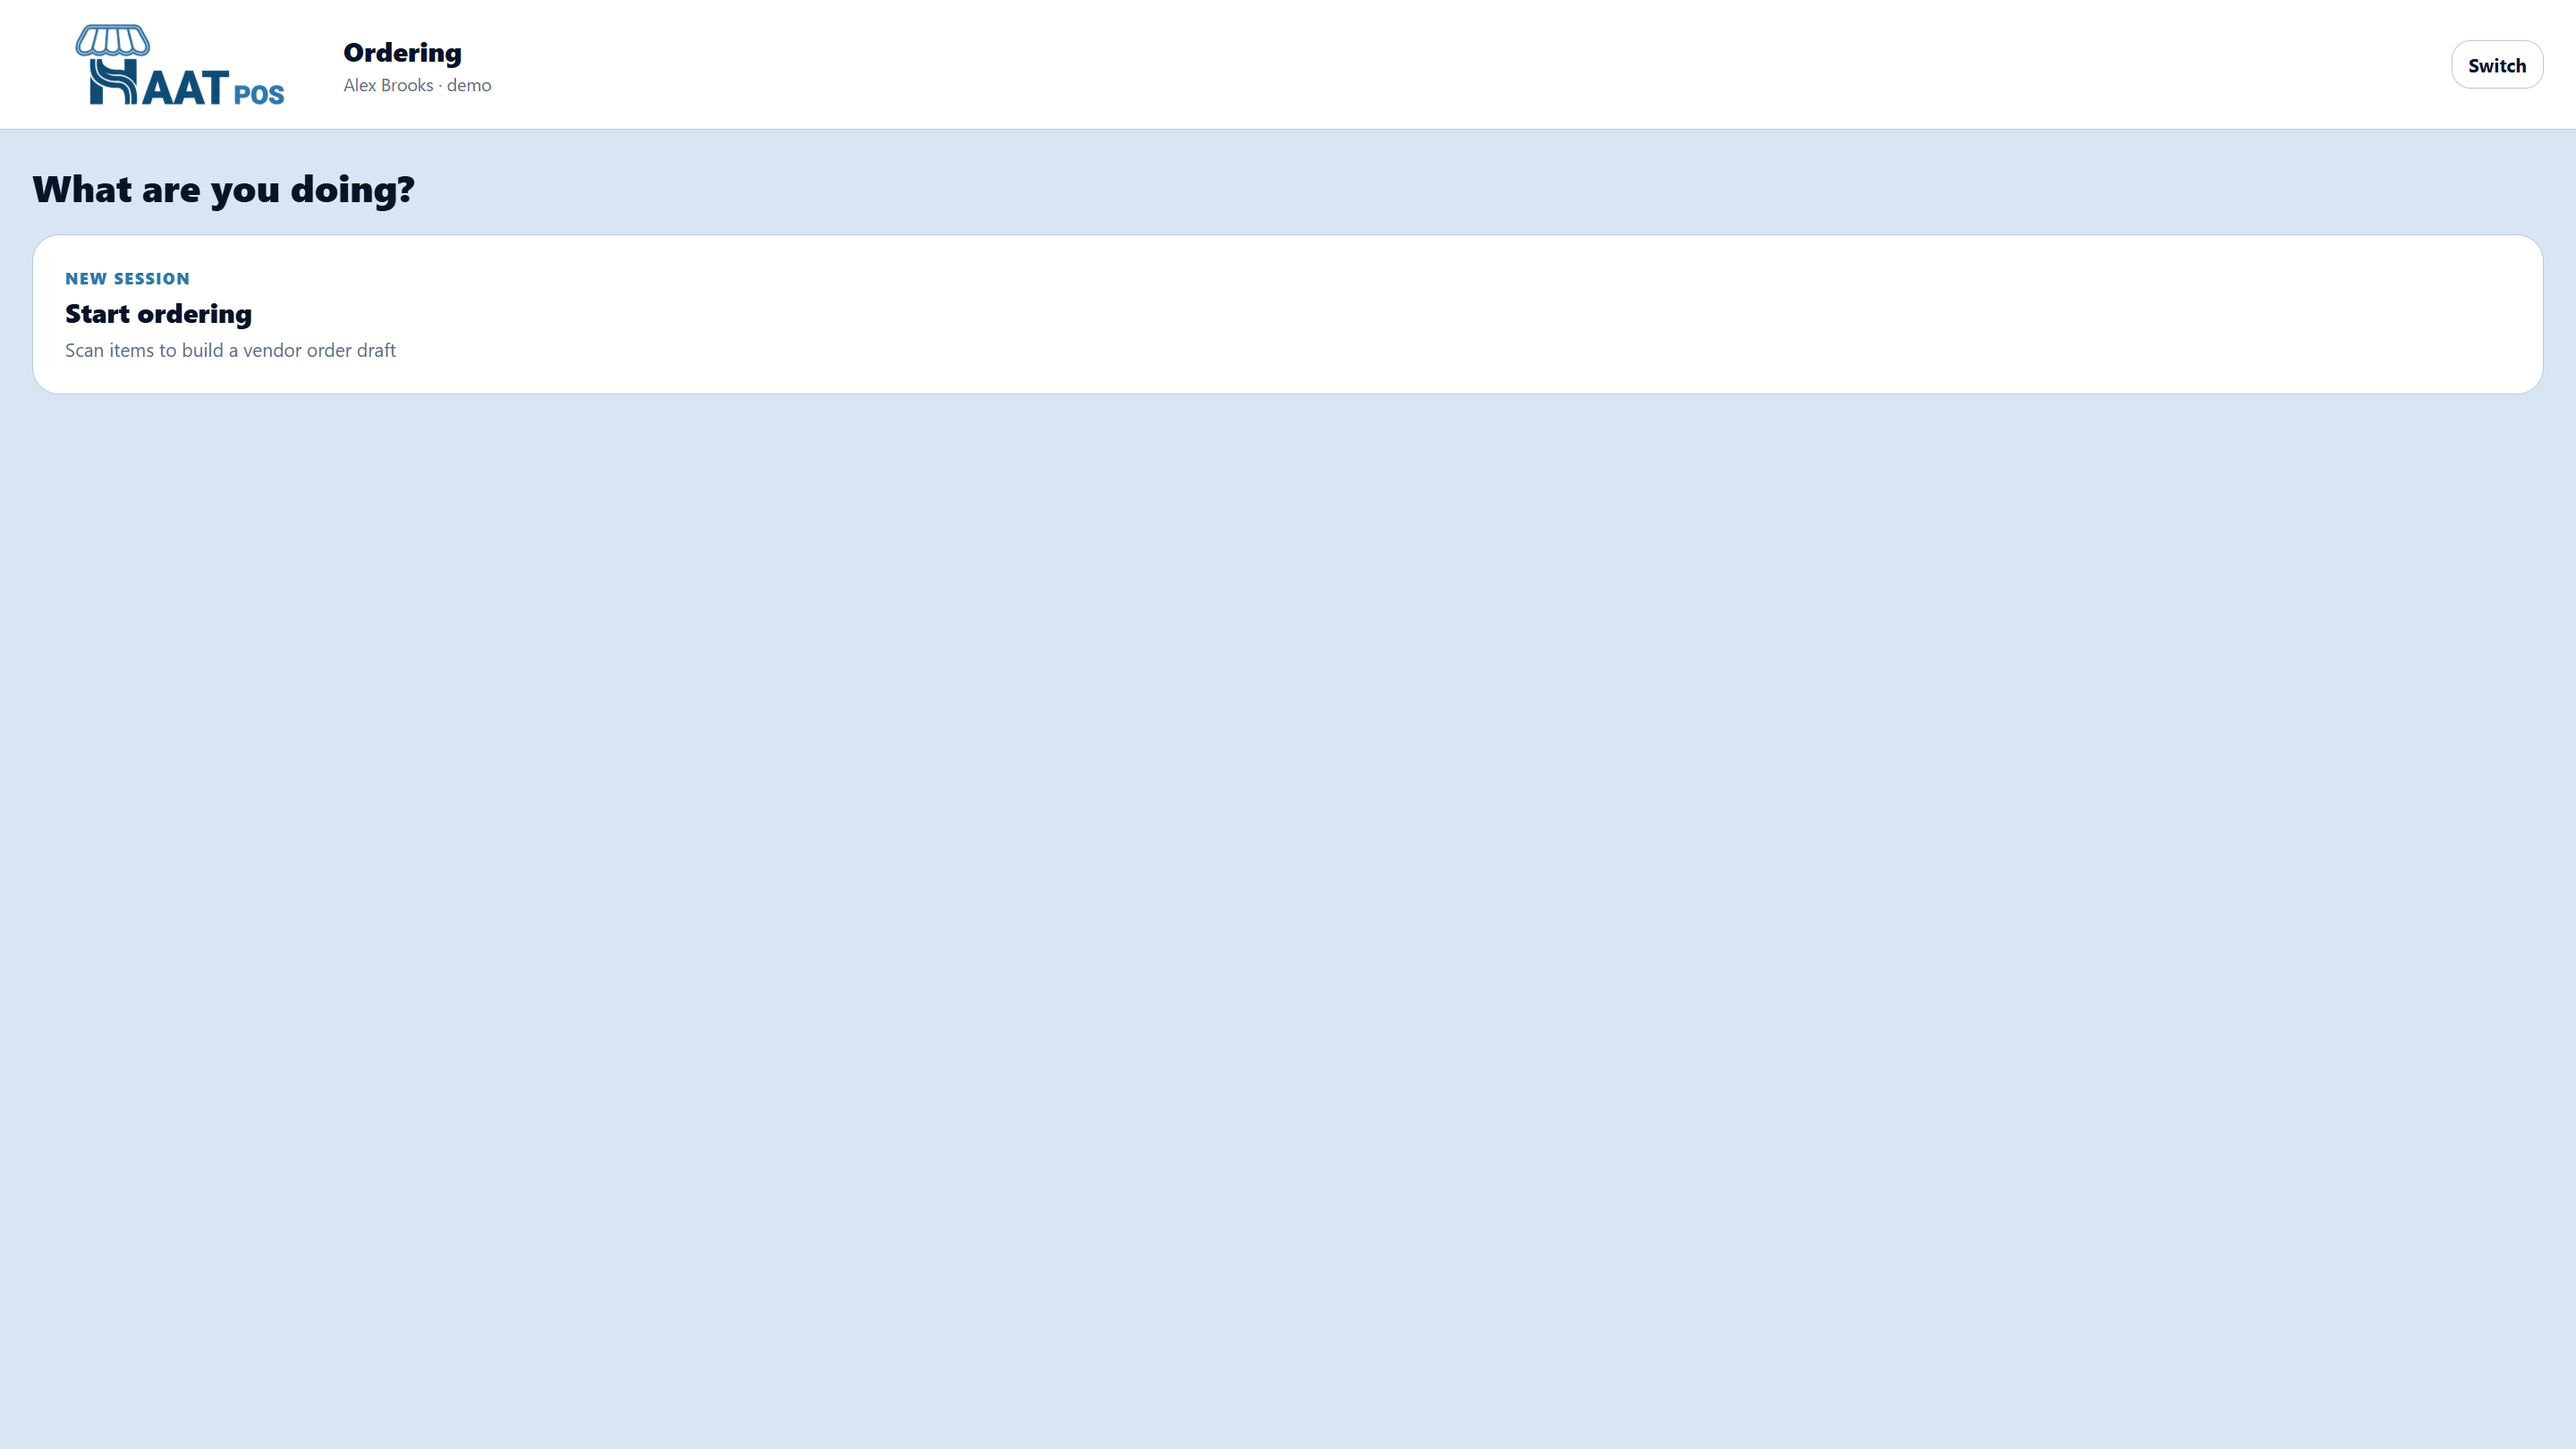
- Start ordering — Device role Ordering → scan items into a session.
- Vendor default — If the product has one vendor link (or a preferred vendor), it’s selected automatically. If several vendors: Choose vendor chips (preferred highlighted).
- Switch before submit — Change vendor chips on the active line anytime before Submit for reconcile.
- Managers finish — Portal → Order sessions →Approve → draft POs (grouped by vendor), then the normal PO finalize/receive path.
Liquor & packs
Same barcode. Single, pack, or case.
One product can expose multiple sell units — each with its own price and base-unit qty — including when they share a barcode.
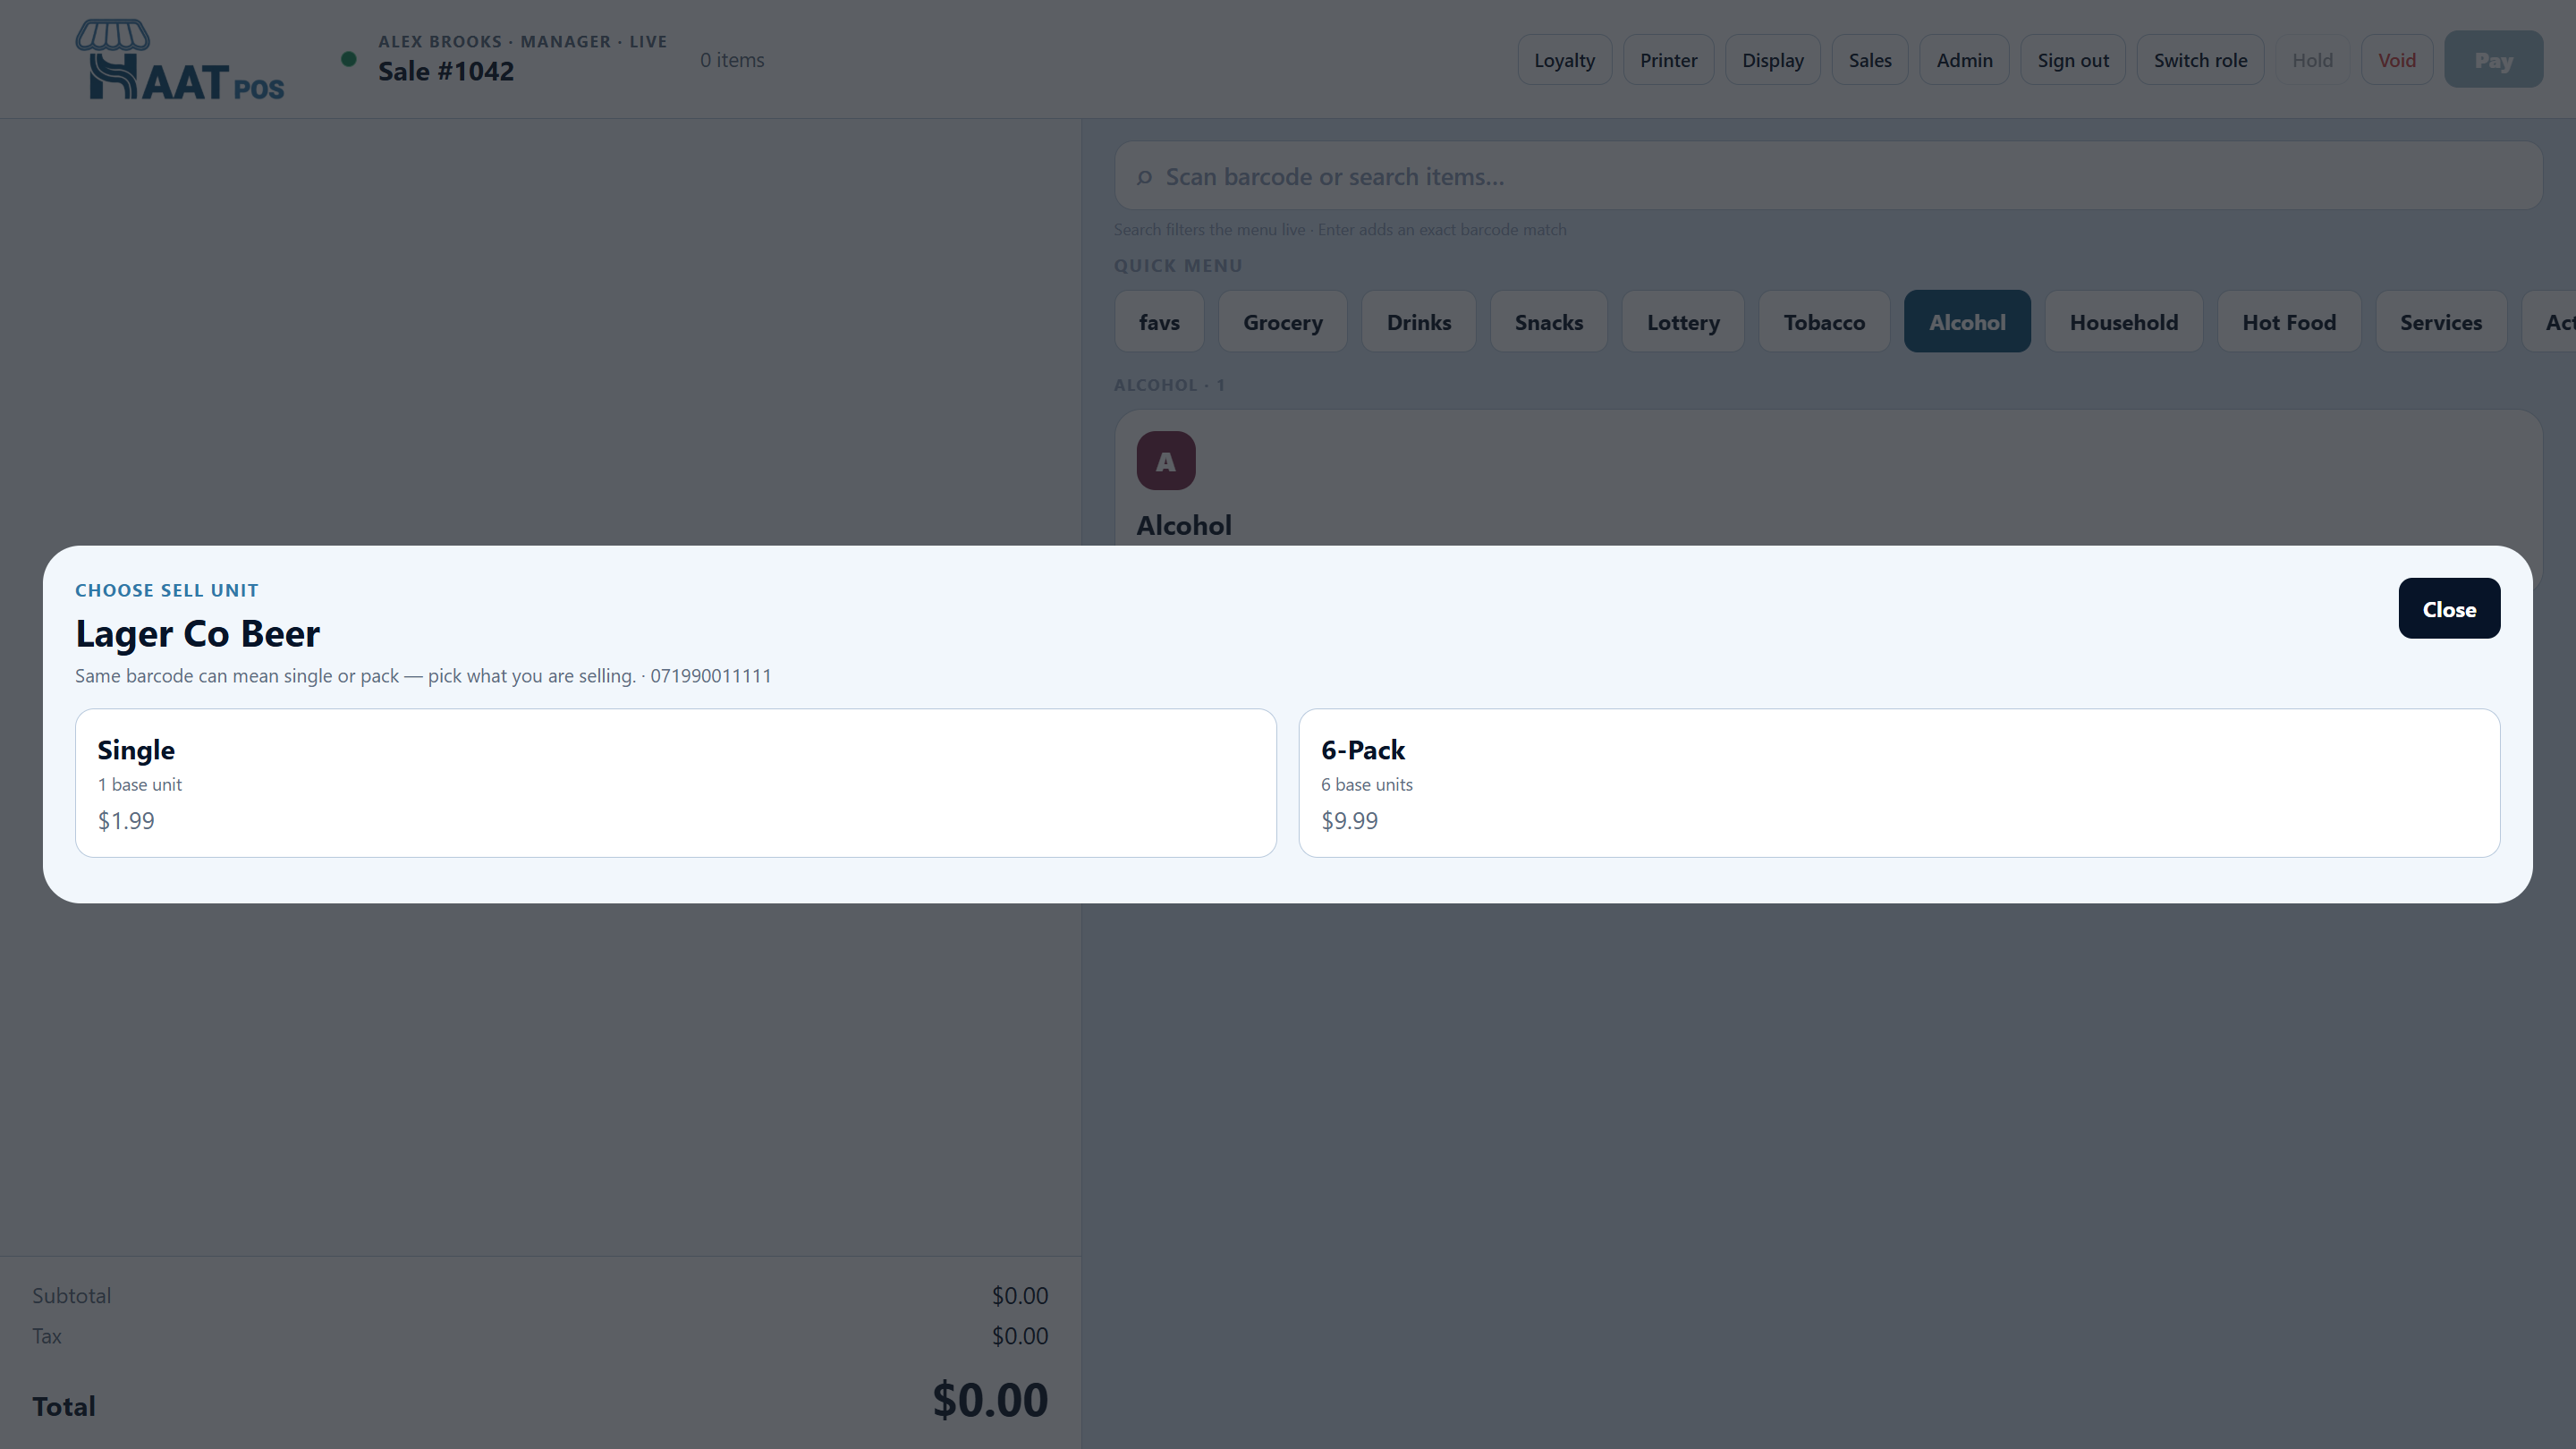
- Scan or menu pick opens Choose sell unit — “Same barcode can mean single or pack — pick what you are selling.”
- Example: Lager Co Beer — Single $1.99 (1 base) vs6-Pack $9.99 (6 base).
- Ticket shows Name — label; tap the line to change sell unit later.
- Store setting: always show chooser, or auto-add a default (single / pack / lowest price). Liquor defaults seed new items as singles / packs / cases.
- Inventory stays in base units (bottles/cans); packs consume qty-in-base.